IT Technician - Graphic Designer - Video Editor - Part-time Scientist

Hi, I'm Ian. I'm an IT tecnical advisors based in Nottingham. I specialise in Linux server configuration and maintenance.
Check out my CV to see if you think I've got the skills it takes to be a part of your team.

Back in the day, my friends and I always use to game together, one of the most popular games we played was Minecraft. My friend has his own server and we regularly placed together, building a city between the whole community. We had countless fun moments together and laughs were shared every day. I wanted to share this laughter with the world, so I decided to start a YouTube channel.
The goal of the channel wasn't to get famous or get a large number of viewers, we just wanted to have some fun and let others get in on it. I used to use Fraps for my recording, as ShadowPlay hasn't been created back in 2011. I also decided to use Sony Vegas Pro for editing videos, as well use Photoshop for the video thumbnails. It was quite a learning curve, and I loved every second of it! Creating the content was thrilling, and it was even better to gather all that content and figure out what I could do with everything. What music could I use for scenes, what camera angles, should I add special effects, which clips should go first! The filming and editing were easy. The creativity was the challenge, knowing what would work well and make something brilliant. We made a lot of videos together and over time, we gathered enough content to make a channel trailer, check it out.
Check out my channel

I wanted to learn the guitar when I was 15, I have to admit that my source of inspiration was Guitar Hero. Don't judge! I didn't think that being good at guitar hero would mean I was good at playing for real, but it was enough to inspire me. Sadly, the motivation didn't last too long.
After attempting to play for a month, I eventually lost interest due to my constant cravings for new things, motivation rarely lasts long. I sold the guitar and didn't go back for another 6 years. I tried learning through online lessons, but they didn't create the right atmosphere for me.
About a year ago, I was in a pub with a friend and there as an acoustic guitar sitting on the wall, my friend began to quietly play. This caught the attention of some of the locals and by the end of the night, everyone in the pub was singing and playing 'Livin on a Prayer'! It made me happy to realise how music brings people together, that's where inspiration hit me again.
This time I was more committed, I went online and found a guitar teacher, as I learn from talking to people, rather than reading or watching videos. Plus I would have someone to prompt me and I would be forced to learn, rather than try and avoid by getting distracted online. I purchased a new guitar, one I found incredibly appealing and felt better to hold. I also felt if I liked the look of my guitar, I'd be more inclined to pick it up and play, which it did.
I've been having lessons for over a year now and I've made a lot of progress. My bad habit is that I keep learning the riffs of my favourite songs like Bliss, Plugin Baby, Hysteria, Livin on a Prayer, but not doing the rest, I'm looking to fix that.

Working at a web hosting company has its benefits, such as access to unlimited VPS and Dedicated servers. I've several websites setup on one of my VPS, all sharing the resources. One of the services we provide at my company is shared web hosting. The setup is that there's a load balancer at the front, this is what handles the incoming traffic. Then there's the cluster, which in our system involves 5 web servers and 2 NAS drives. The web servers are what handle the HTTP requests and pull the site content from the NFS Server / NAS drives and server this to the load balancer, which then presents this to the client/browser. Then NFS Server / NAS drives are what store all the website content, all the site files which make up the website content.
We also have a shared database server, which hosts all our customer's database. For example, if you create a Wordpress site, the website files are stored in the NAS drives in the cluster, and the databases are stored on the shared database. I was curious and wanted to learn more about our systems setup, so I decided to configure my own load-balanced cluster.
The idea behind a load-balanced either can have multiple setups. For example, a fall-over cluster, so if I have 2 web servers in my cluster, if one of them goes offline, the other one will take over, so there isn't any downtime. Another setup is for performance, the traffic is split between the 2 web servers, so the packets of data are shared, effectively serving website content faster. Imagine having a basket and you need to place 10 apples in the basket. You can place those 10 apples in the basket twice as fast with 2 hands instead of 1.
I wanted my cluster to be a performance based load balancer. My setup would involve 5 VPS which would be: Load Balancer, 2 Web Server, NFS Server, Database Server
The benefit of this setup is that I can configure each of my individual VPS specifically for their purpose. Rather than 1 VPS having all the resources drained by the sites, all the resources would be shared between the servers. Whilst this is a performance-based cluster, it does also work as a failover cluster, if one of the web servers goes down, the load balancer redirects traffic to the other one.
I decided to use Centos 6 and HaProxy for my setup, as this is the software which we use at my company and I wanted to become familiar with them to prepare me for advanced training. With 5 Centos 6 VPS in my account, I began to configure them all for their individual purposes.
As mentioned, I would be using HaProxy as the load balancer. This would distribute traffic between the 2 web servers and also use Let's Encrypt for the SSL's. This was the most challenging part of the entire project and took the longest to configure. The initial setup was quite easy, the difficult part was getting the SSL's to work. Originally, my SSL's were stored on the web servers, but now that the load balancer would be the first point when receiving traffic, it's the load-balancer that would be handling the HTTPS requests, so they needed to server the SSL. It took a while, but I managed to get HaProxy to fetch the content from the web servers over port 80, then use https over port 443 between the server and the client. With the help of Let's Encrypt, I am able to generate free SSL's for the domains. I use Round Robin for the type of balancer, which is to split the packets of data between the servers, increasing performance.
The 2 web servers would be running Centos 6, they were relatively easy to setup, as I had my initial VPS already configured to handle requests, so I just needed to Rsync the configuration over to the second VPS.
The NAS drive would be storing all the website content and was essentially an NFS server. I used NFS server as the software on the server that would contain all my files, rather than the content being stored on the web servers. The files are then stored in a directory within the NFS server, which I have then mounted onto my 2 web servers. The load balancer received the request from the client for the website, it sends the request to the web servers, then the web servers pull the website content from the locations specified in the httpd.conf, which happen to be from a mounting location that is stored on the NAS drives / NFS server.

As part of a challenge, I wanted to read more books and online articles, the main difficulty is remembering all the information, as it begins to fade over time. My solution for this was to accumulate all the information that I'd gathered and keep everything stored in one location, a quick reference and notes.
I began to research various software that I could use for this project and eventually decided to use OneNote. It's a free notes software by Microsoft and a superior version on Windows 10. The software was visually appealing, it had various features such as adding audio and video files, drawing images, hyperlinks, and automatic links to articles you can copy and paste from the original source. The main benefit as well is that if you have a Microsoft account, you can add multiple users to the account, so I can have several people all sharing the same notes document which we can all read and contribute to, a vast quantity of information from several minds. I also use this software at work for my notes and commands I run which I had shared with colleagues.
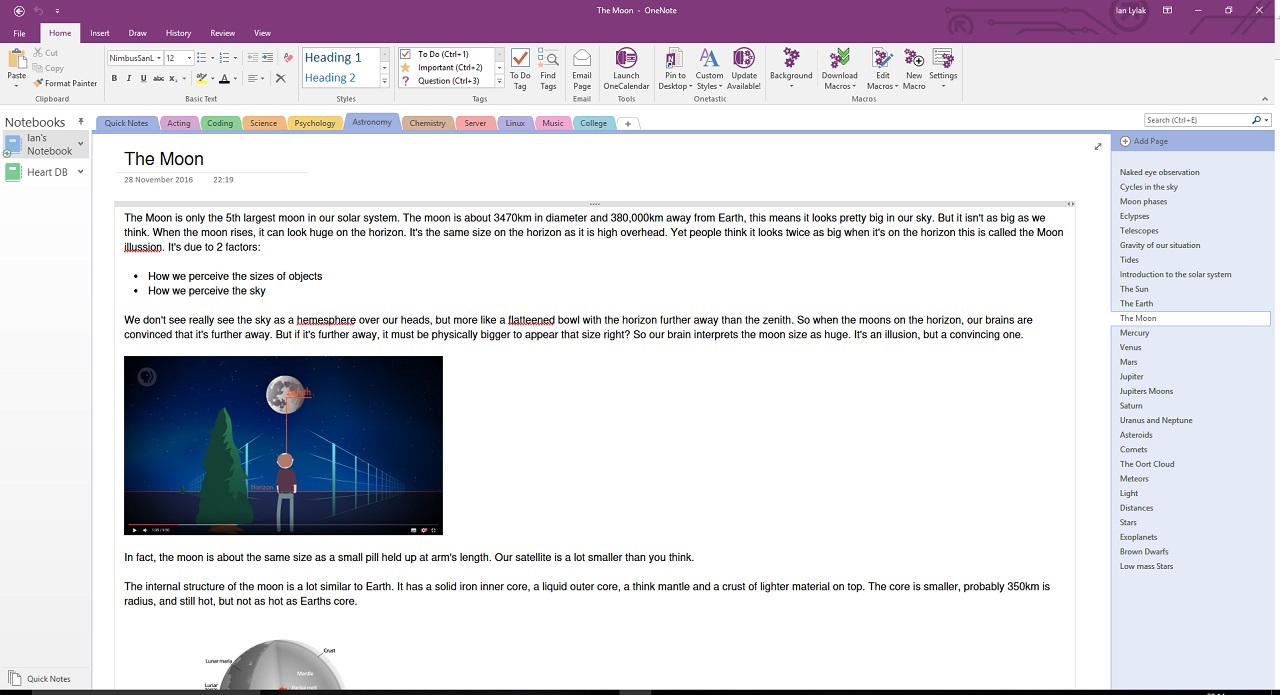
I have my main categories on the top tables, such as Science, Psychology, Music, Acting etc. Then I can add sub-sections to these tabs. Anytime I read a book or read an online article, I begin to take notes within the software, giving a summary of everything read to refer to, helping ease the work on my memory. I'm hoping that over the next several years, I will have accumulated a large quantity of information that I may share with those interested or myself.

I've always enjoyed watching science experiments on YouTube. I was looking for an experiment that would take time and patience to yield successful results. That's when I discovered the crystal growth experiment. The idea is that rather than growing multiple crystals with various deformities, you would create 1 seed crystal, then use that seed to grow 1 large singular crystal over the course of a few months.
You can use different substances for different colours, such as iron for green, copper for blue, cobalt for red. With so many colours to choose from, I had to get a second opinion. I asked my friend for her thoughts and we decided to go with a green crystal.
I began my research by watching a dozen YouTube videos on crystal growth, figuring out the correct temperatures, the volume of materials, estimated development time etc. They made it look so easy, little did I know of the pain and suffering I had yet to come!
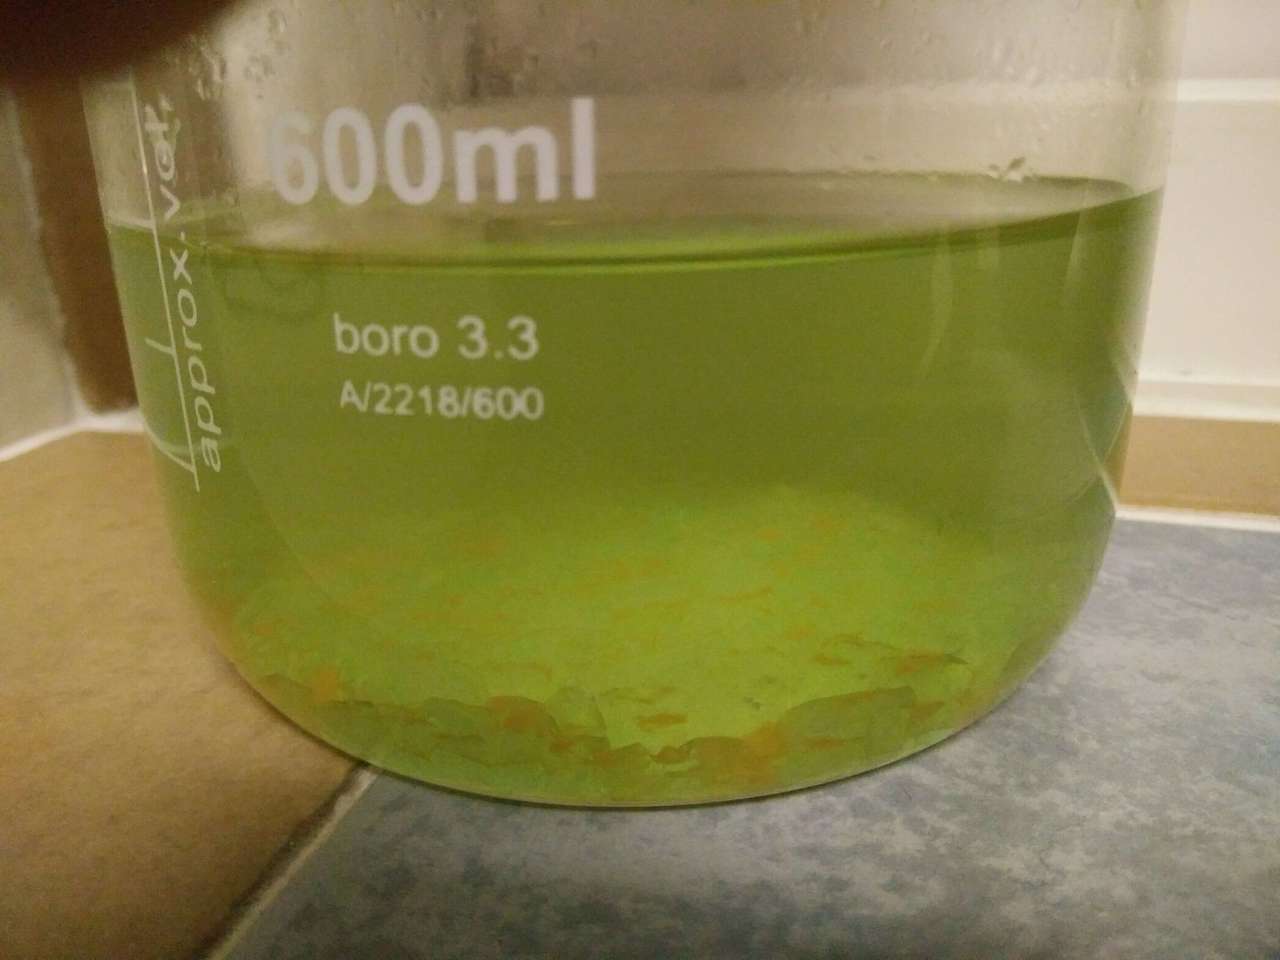
I started out with 200ml of boiling water, adding 5 spoons of ammonium iron (II) sulphate, leaving it overnight in my utility. Sadly, nothing had grown after 24 hours. I added an extra 8 spoons of iron sulphate and waited another 24 hours. Overnight, tiny crystals had started to form, as shown below.
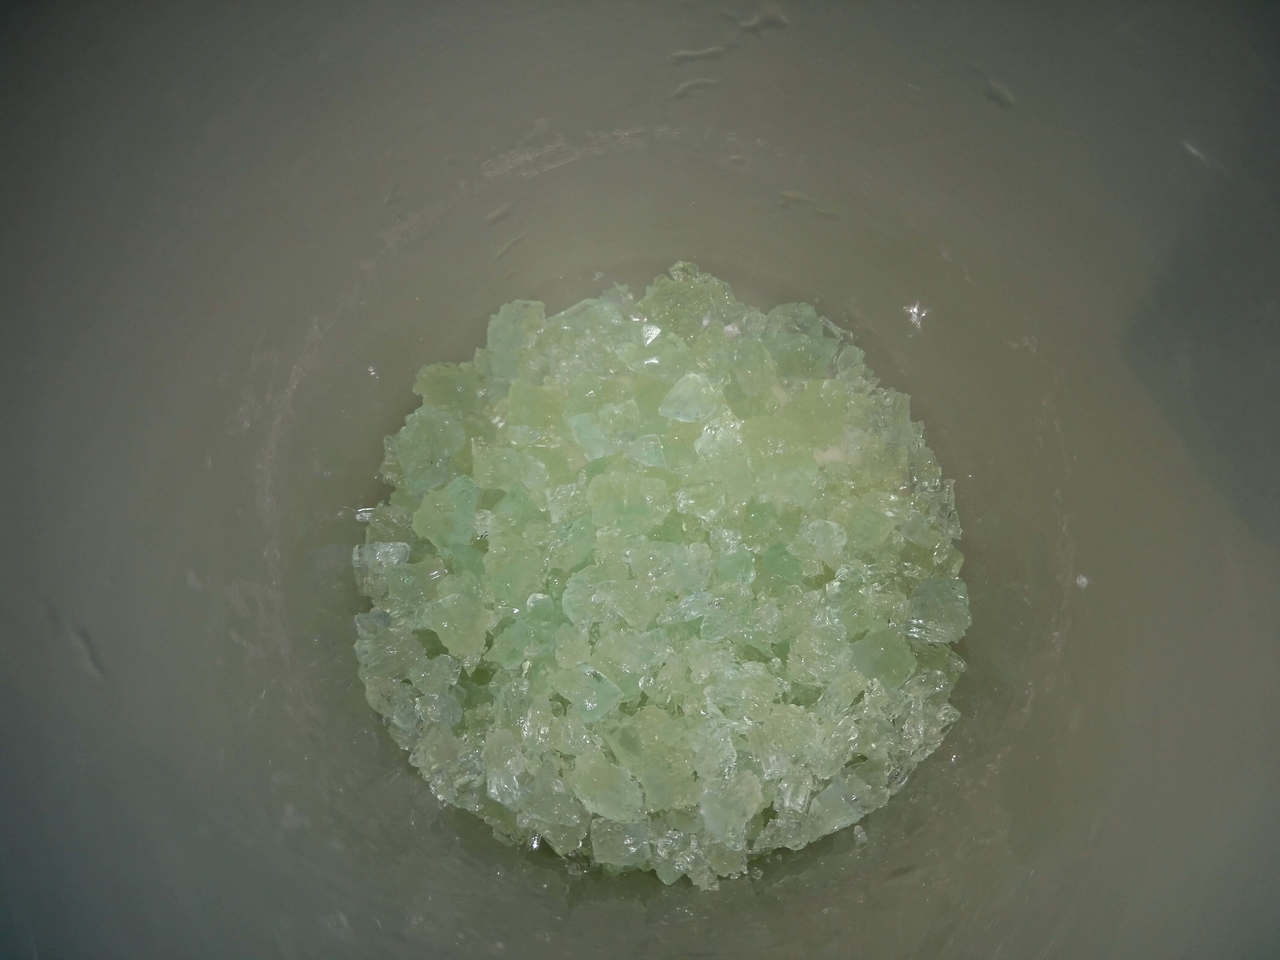
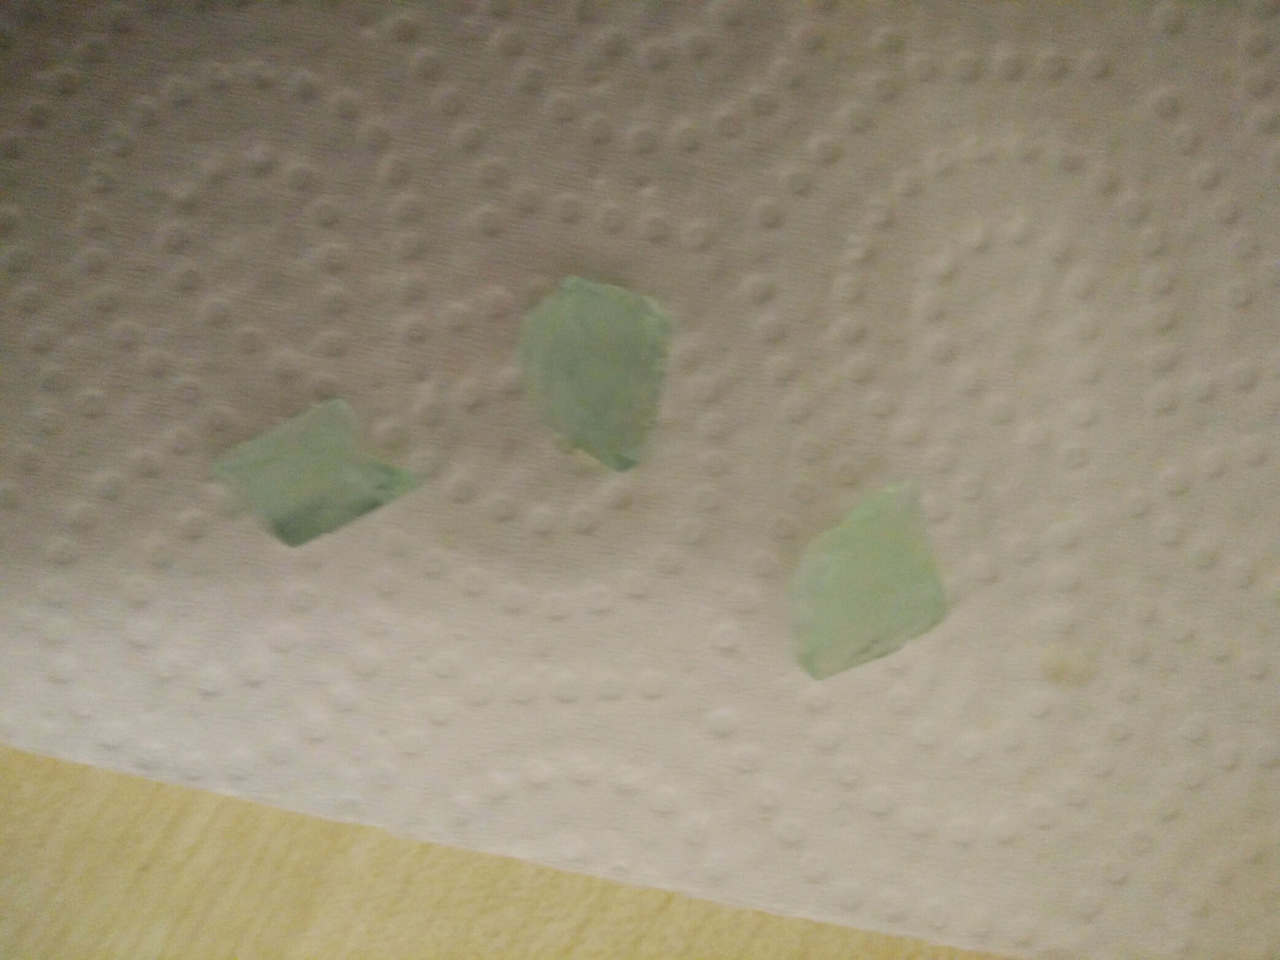
These crystals were too small and brittle to be used. They crumbled in my hands and I needed one solid crystal to use as my seed. After repeating my experiment around 6 times over 2 weeks, I finally found the perfect formula. 200ml of boiling water, 20 spoons of iron sulphate, then leave overnight in my bedroom at room temperature instead of in my utility where it was much cooler. The results were quite impressive.
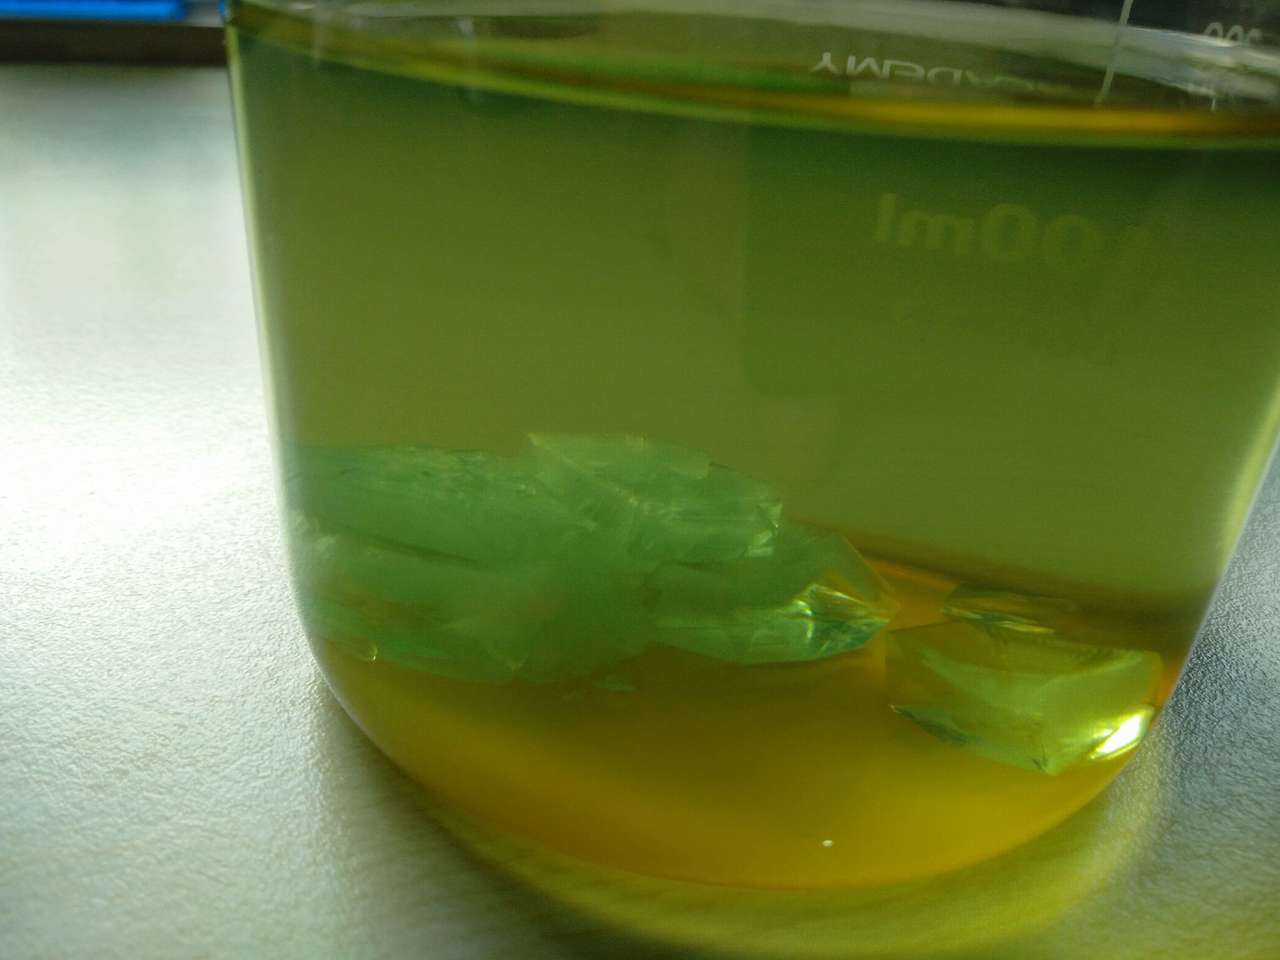
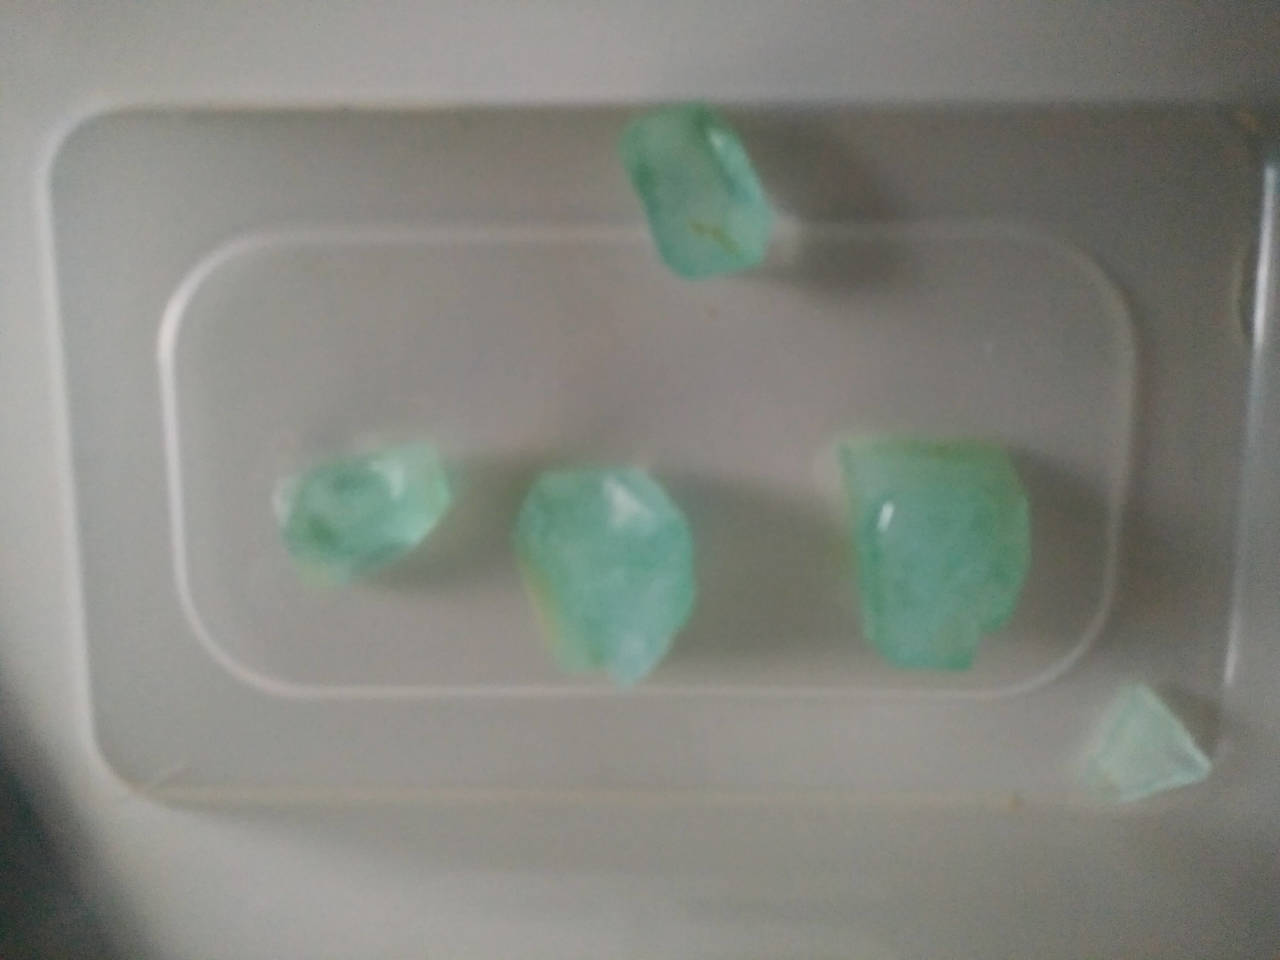
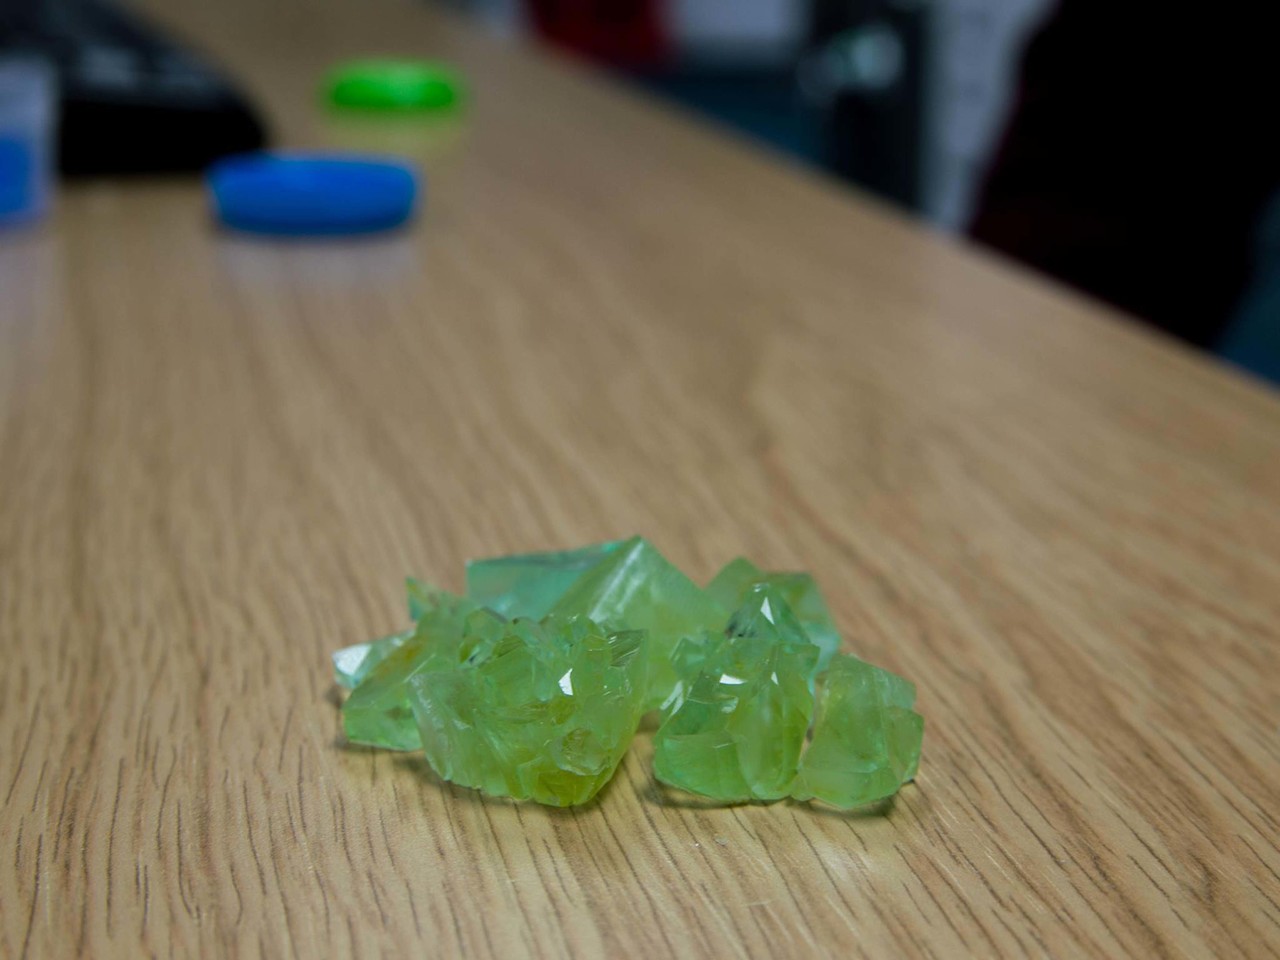
The new crystals were of a much higher quality. Rather than dozens of tiny crystals, the new technique always developed several large crystals, perfect for a seed. I chose the best quality crystal that was smooth on all sides, then suspended it on a nylon fishing wire within my saturated solution, leaving it to develop over the course of the next few weeks.
As I was waiting for my iron crystals to develop, I also started creating blue crystals using copper. Following my same technique for the iron crystals, I repeated the process for my copper ones, which revealed similar results.
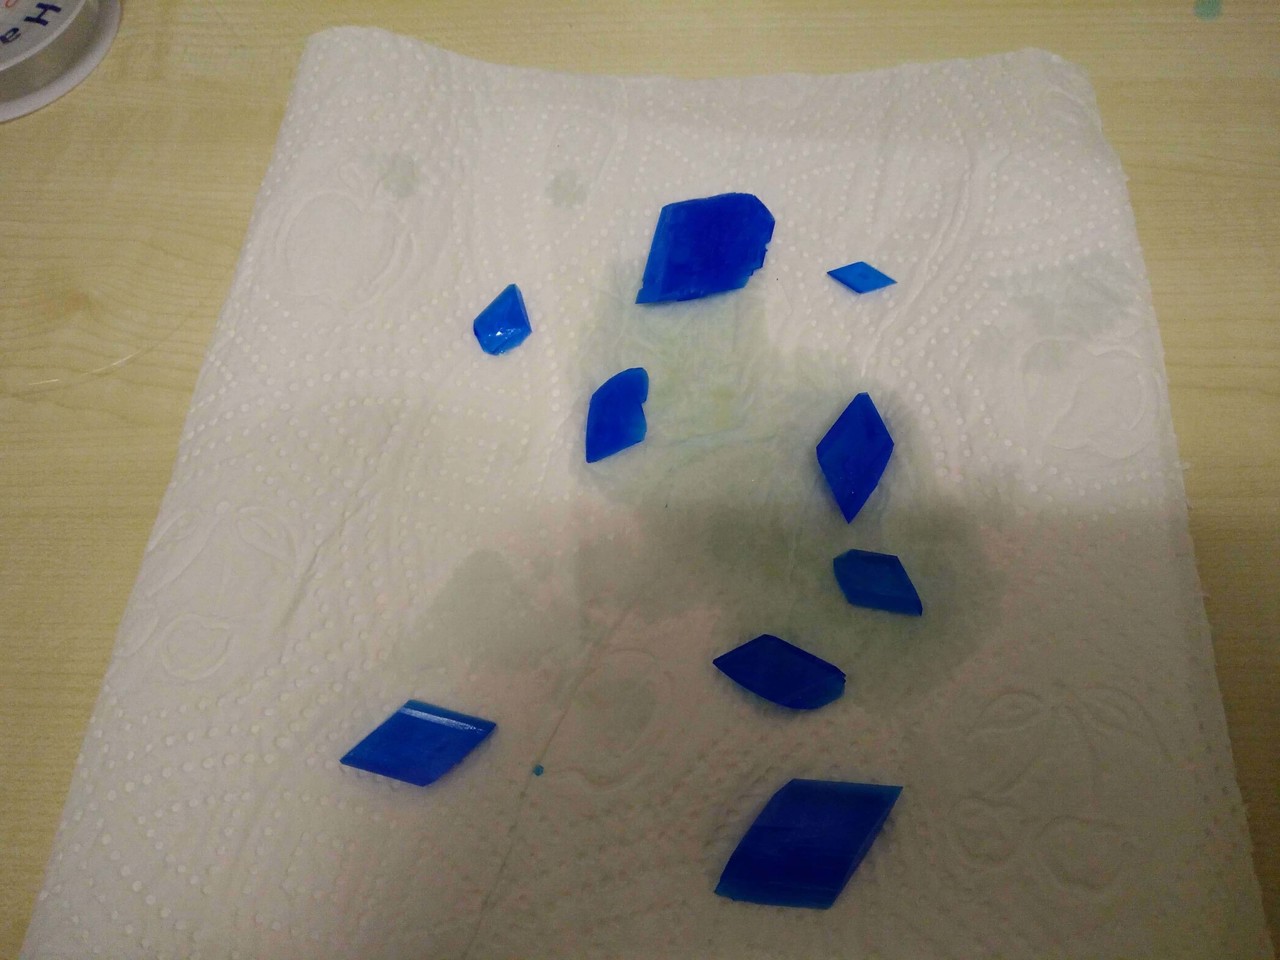
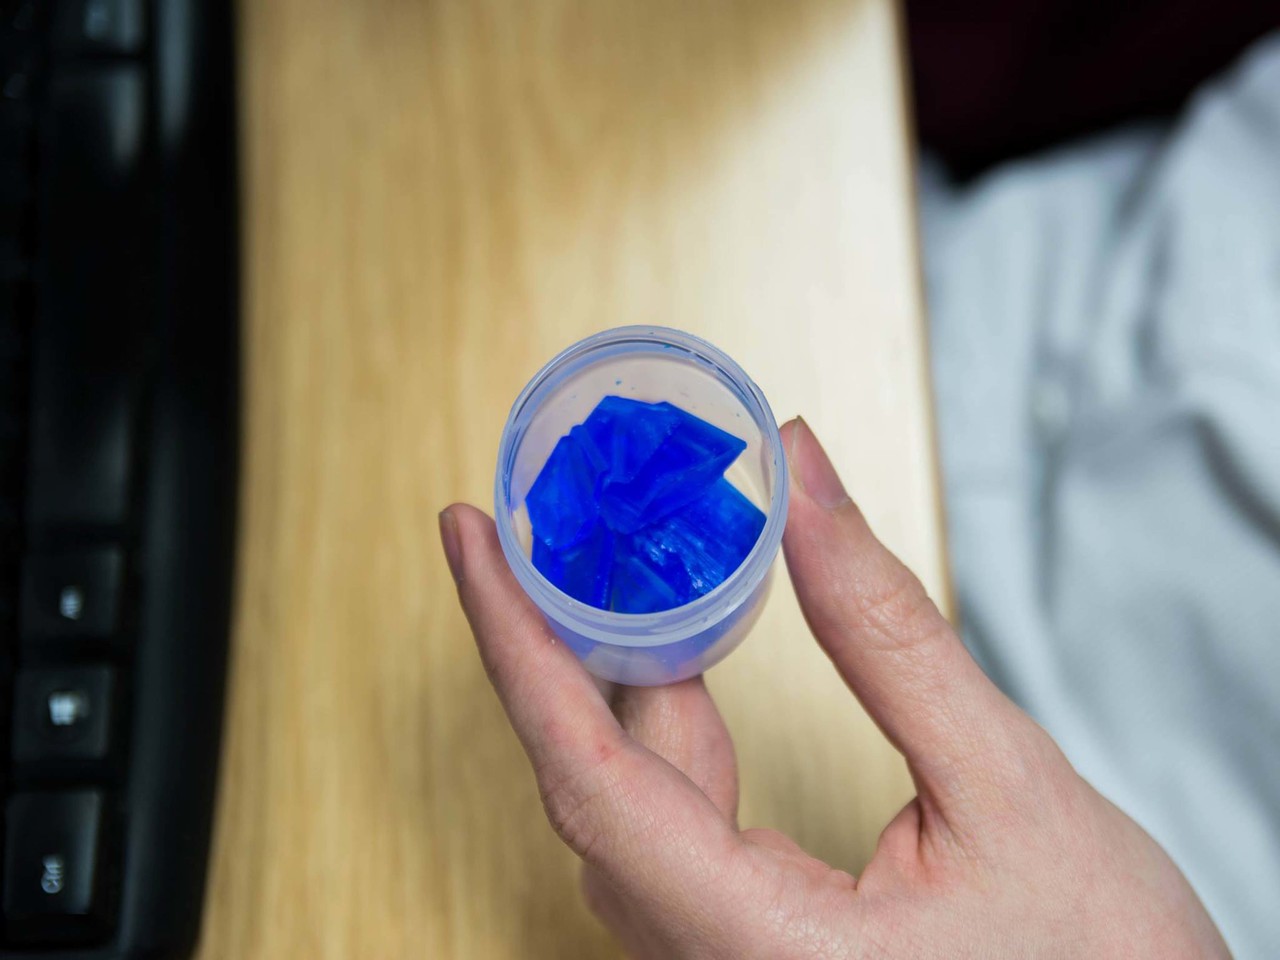
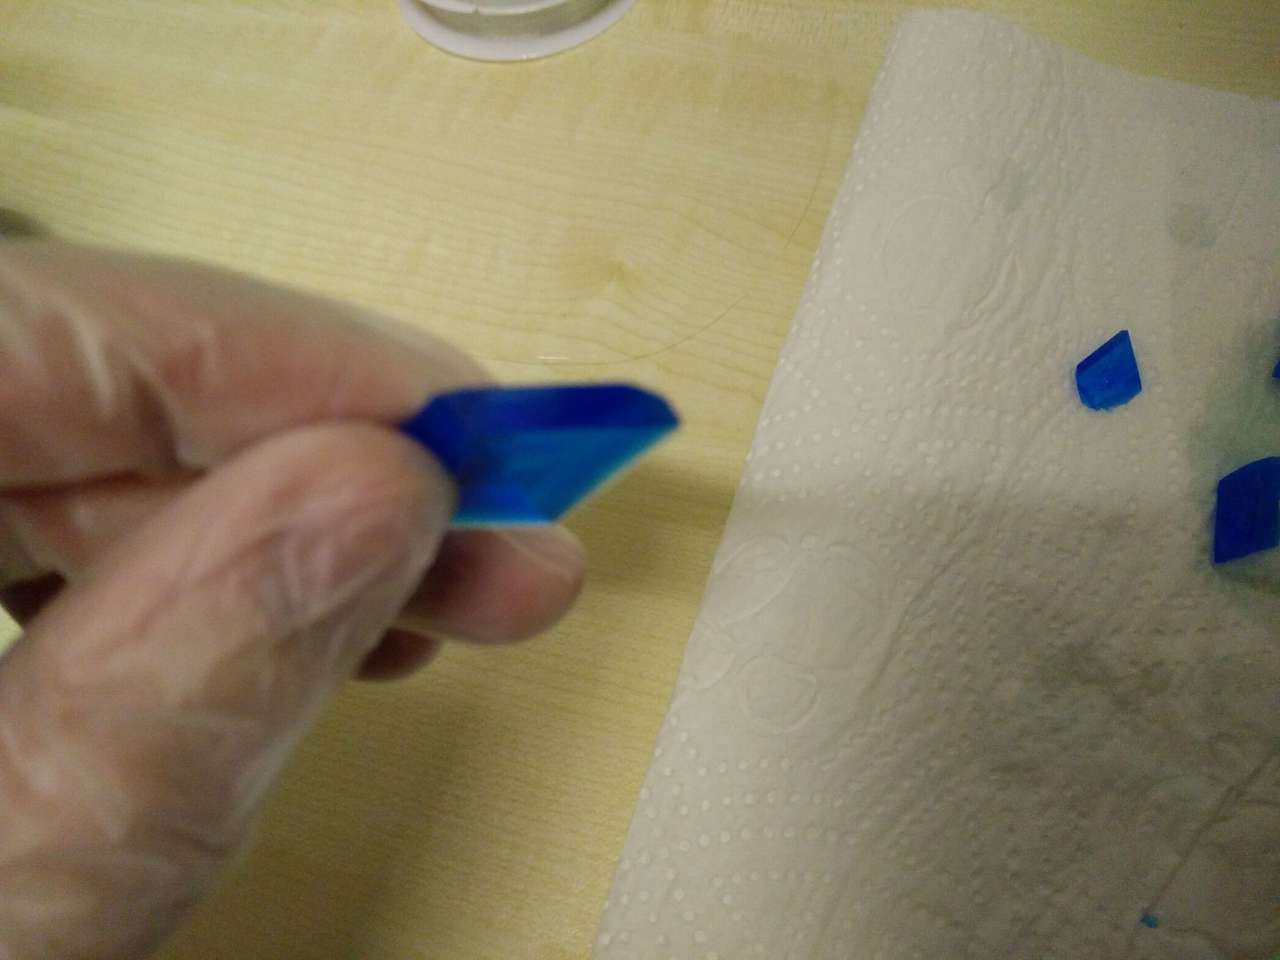
Whilst the copper crystals had started to form, disaster struck with the iron crystals. The nylon wire was too thick, which resulted in the iron crystal being crushed as it grew. As I began to repeat the experiment, I decided to use de-ionised water instead of tap water to see if the removal of impurities would create a better standard of crystals. My tests confirmed this theory to be true. These new crystals were larger and had a clear, emerald style to them, far more beautiful than before. I then suspended them in a new solution.
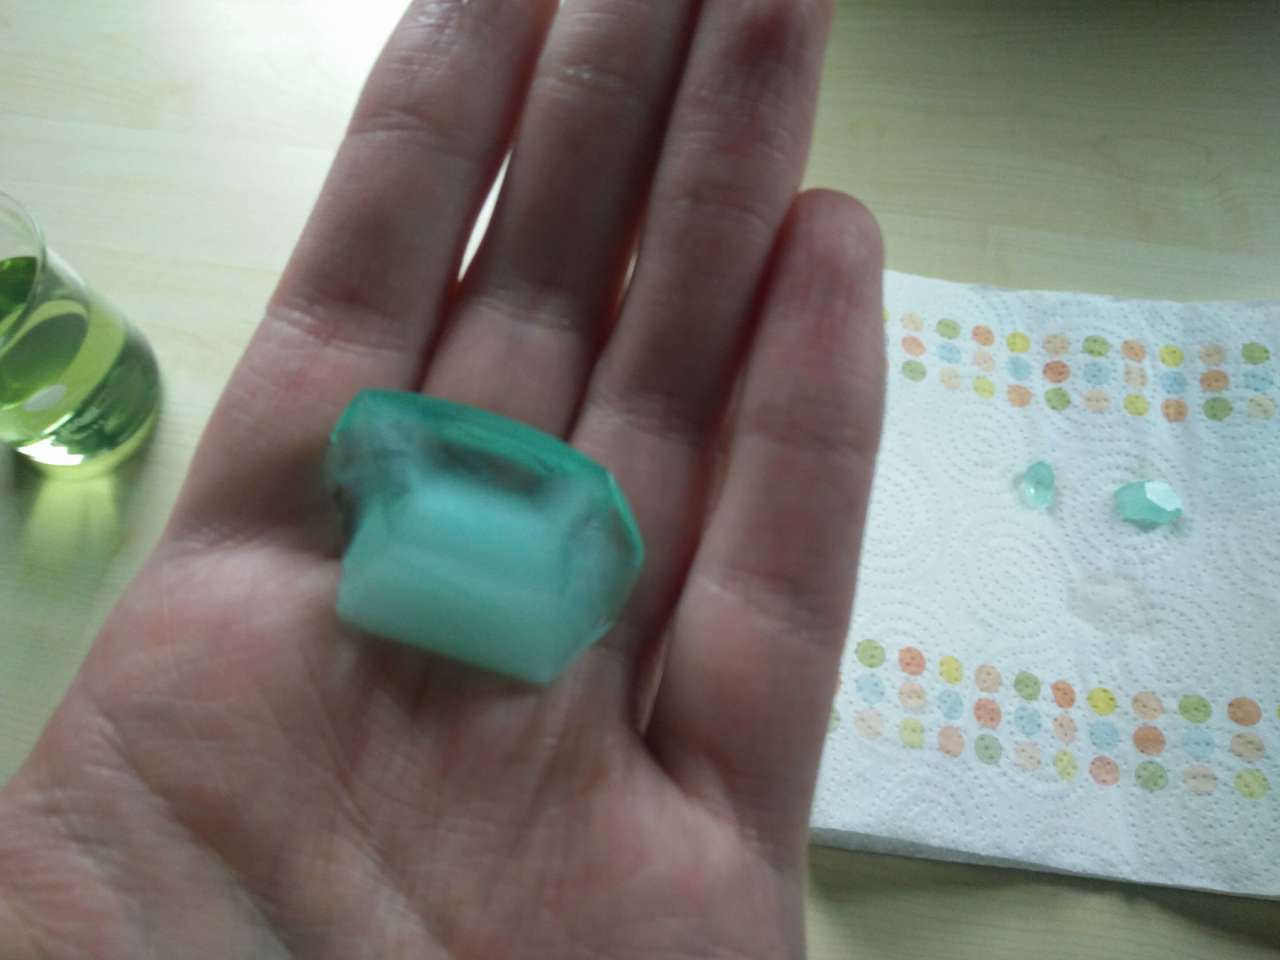
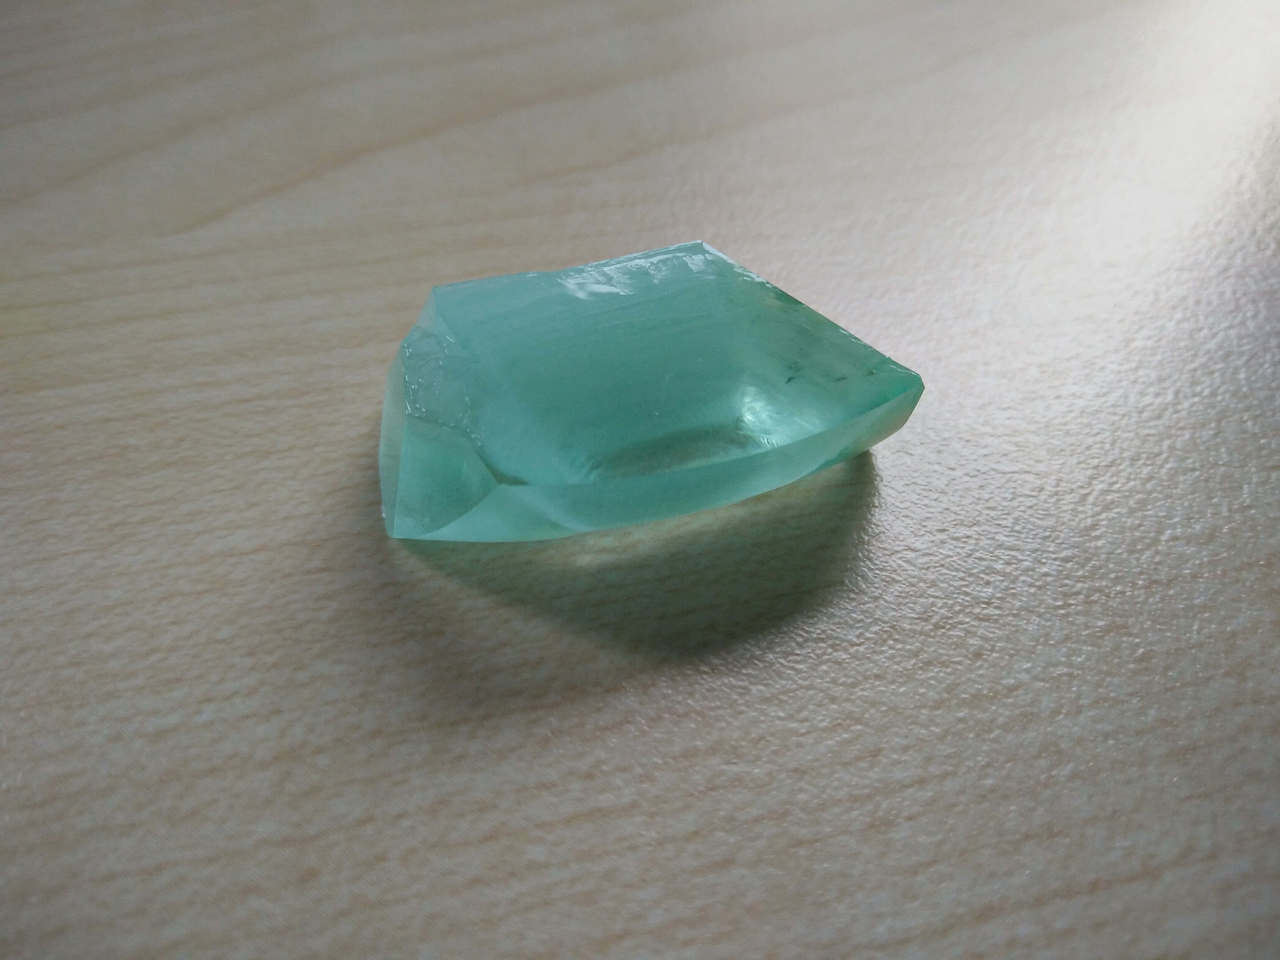
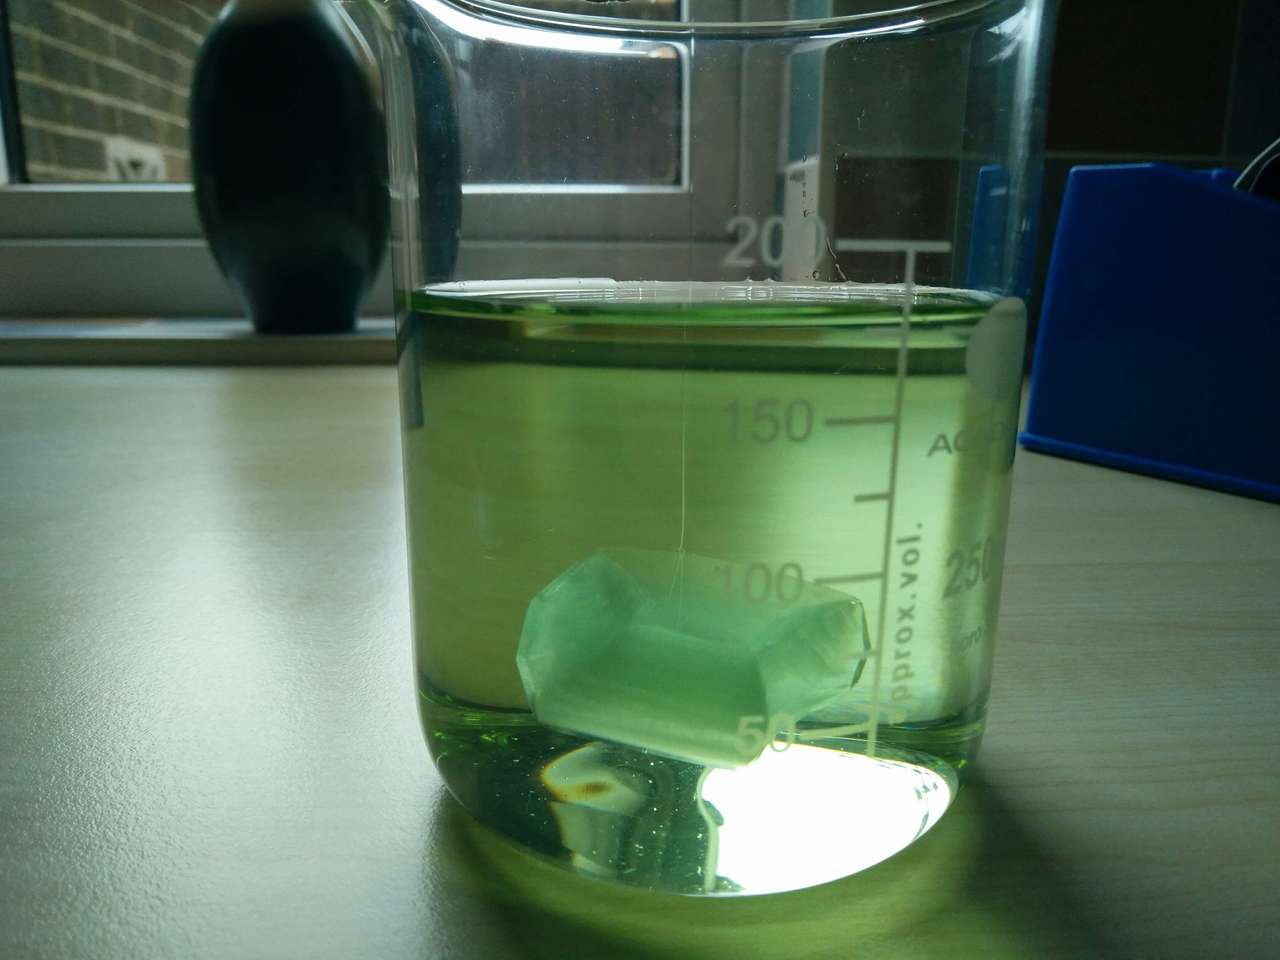
I left the crystals to develop in an enclosed cupboard in my bedroom, protected from dust and movement that may disturb them. I filtered the solution every week to remove impurities, also checking to ensure they were healthy and the new, thinner nylon string wasn't causing any damage.
The crystals are developing at a very rapid rate, so I've had to move them from a 200ml beaker to a 350ml beaker. The shape of the green crystal has changed dramatically since this began. I'm very pleased with their progress, I expect another 4-6 weeks and they will be complete.
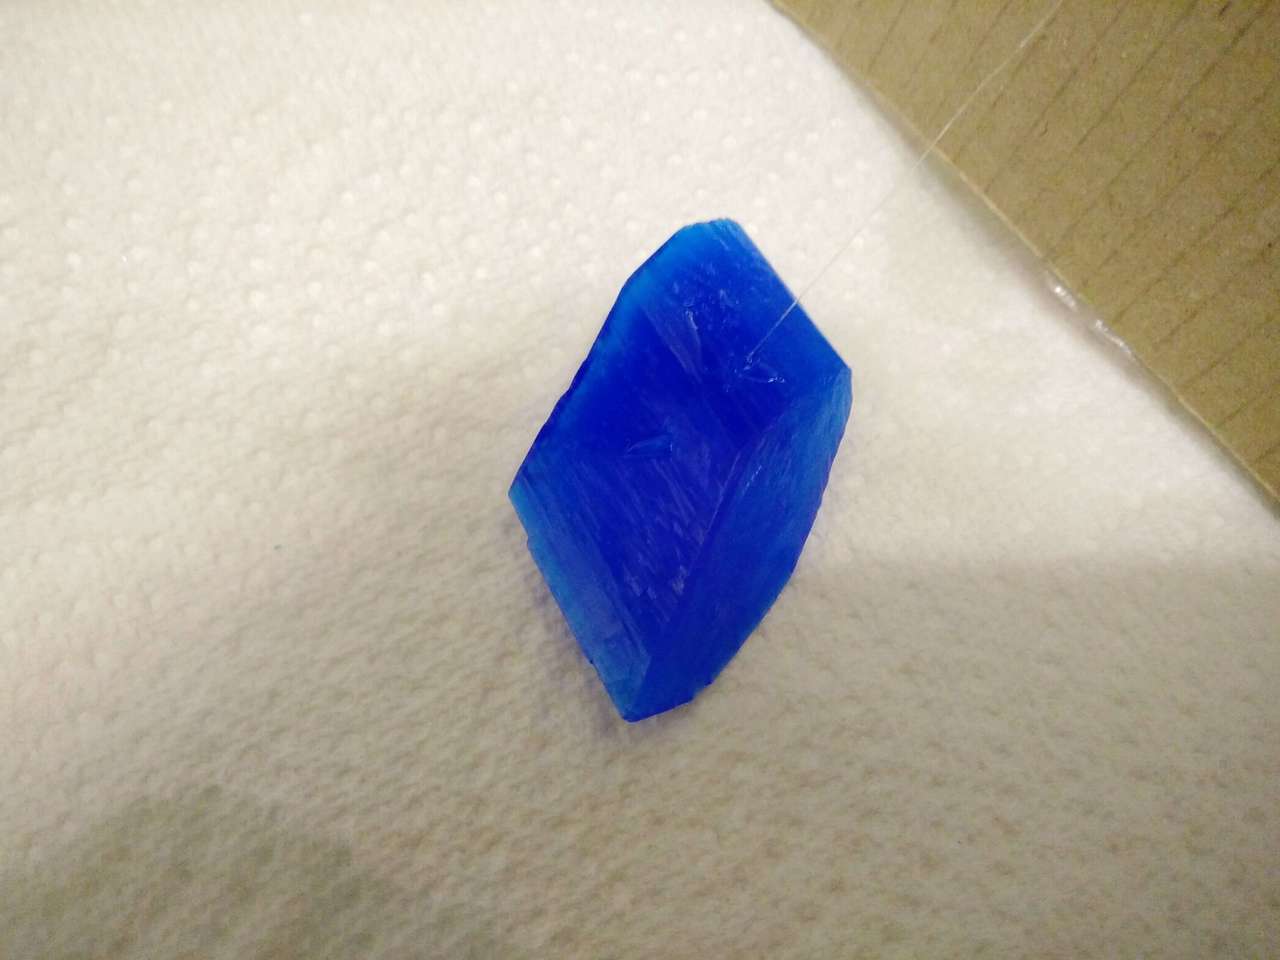
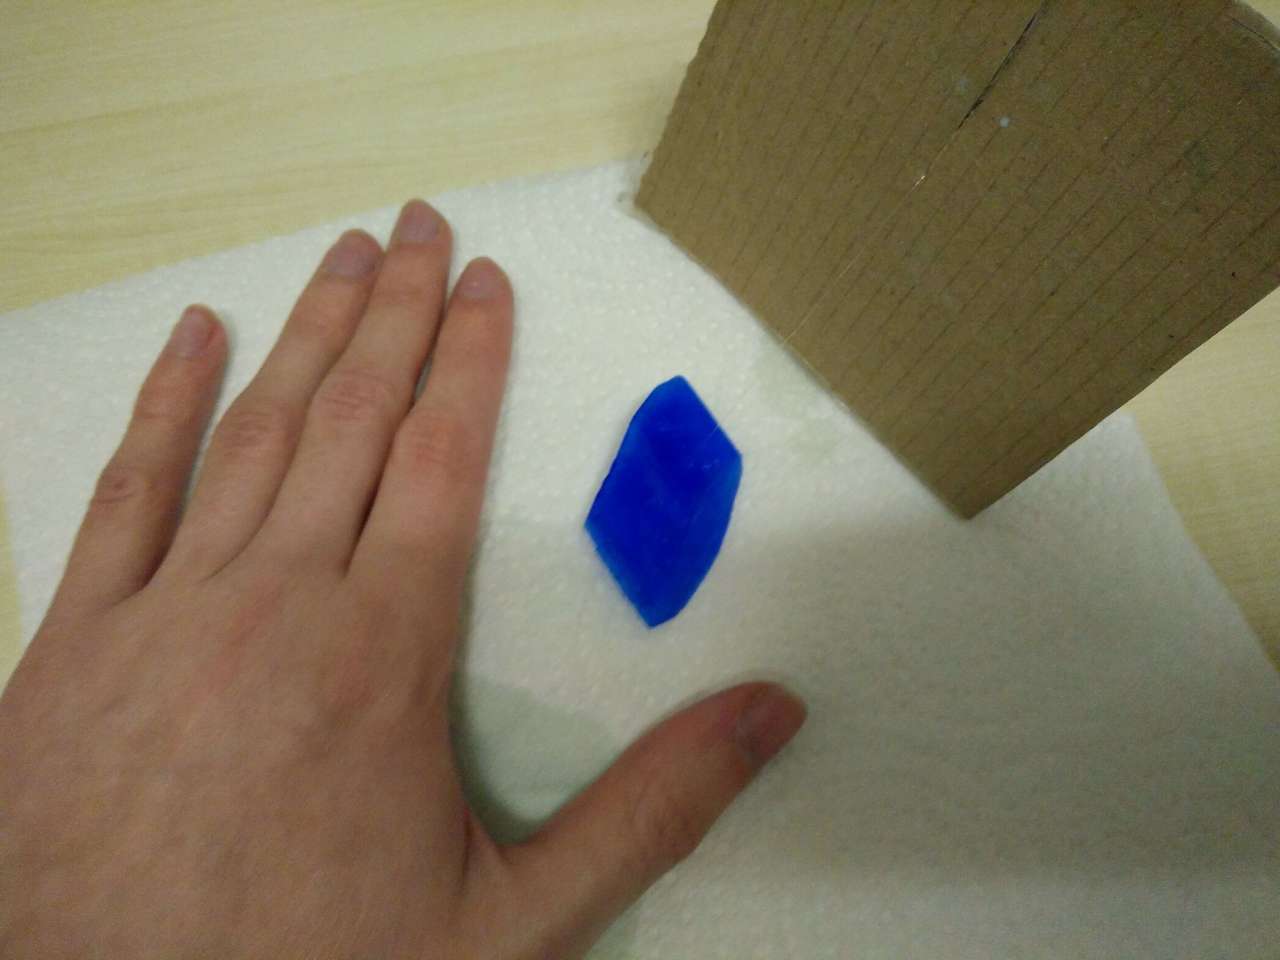
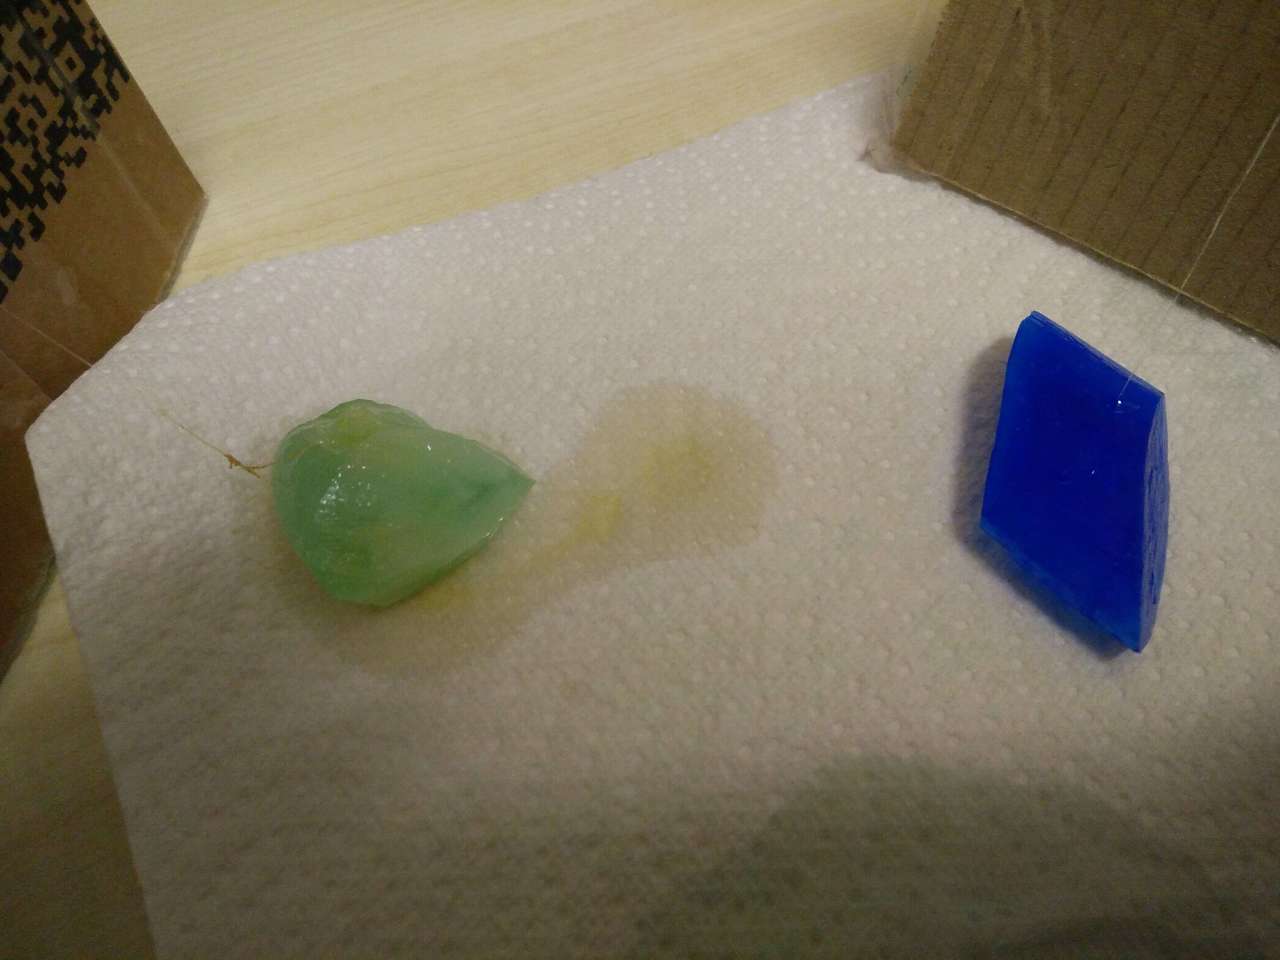
Sadly, disaster has struck yet again! When moving the crystals into the larger beaker, I needed to saturate the solution again or else the crystals would dissolve in the solution if it wasn't saturated. I added boiling water and continued to add the copper and iron sulphate until it no longer dissolved. I then left the solution to settle in my room as usual, but I added the crystals back into the solution too early.
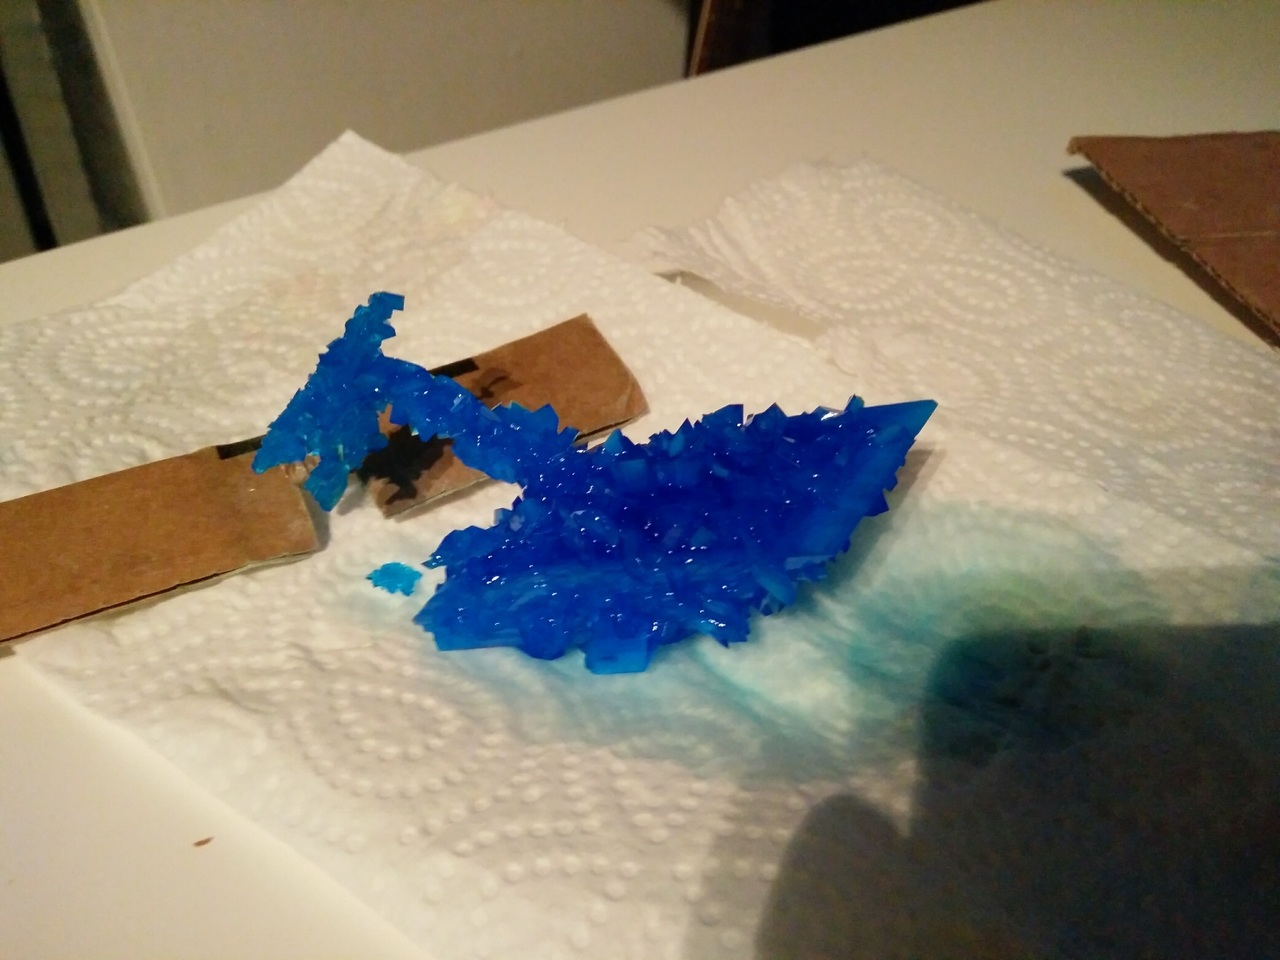
The result as shown below, my copper crystal has become surrounded by hundreds of tiny crystals, growing in all directions, which is exactly what I needed to avoid. The point of this experiment is to form 1 large crystal from a singular seed. The reason I added my crystal early is that large quantities of crystals grow when the solution is first created, so adding the crystal seed early on, I felt it would grow substantially overnight rather than leaving 24 hours. In fairness, I was correct, the crystal had doubled in size, although now the experiment is a failure as the crystal is no longer recoverable.
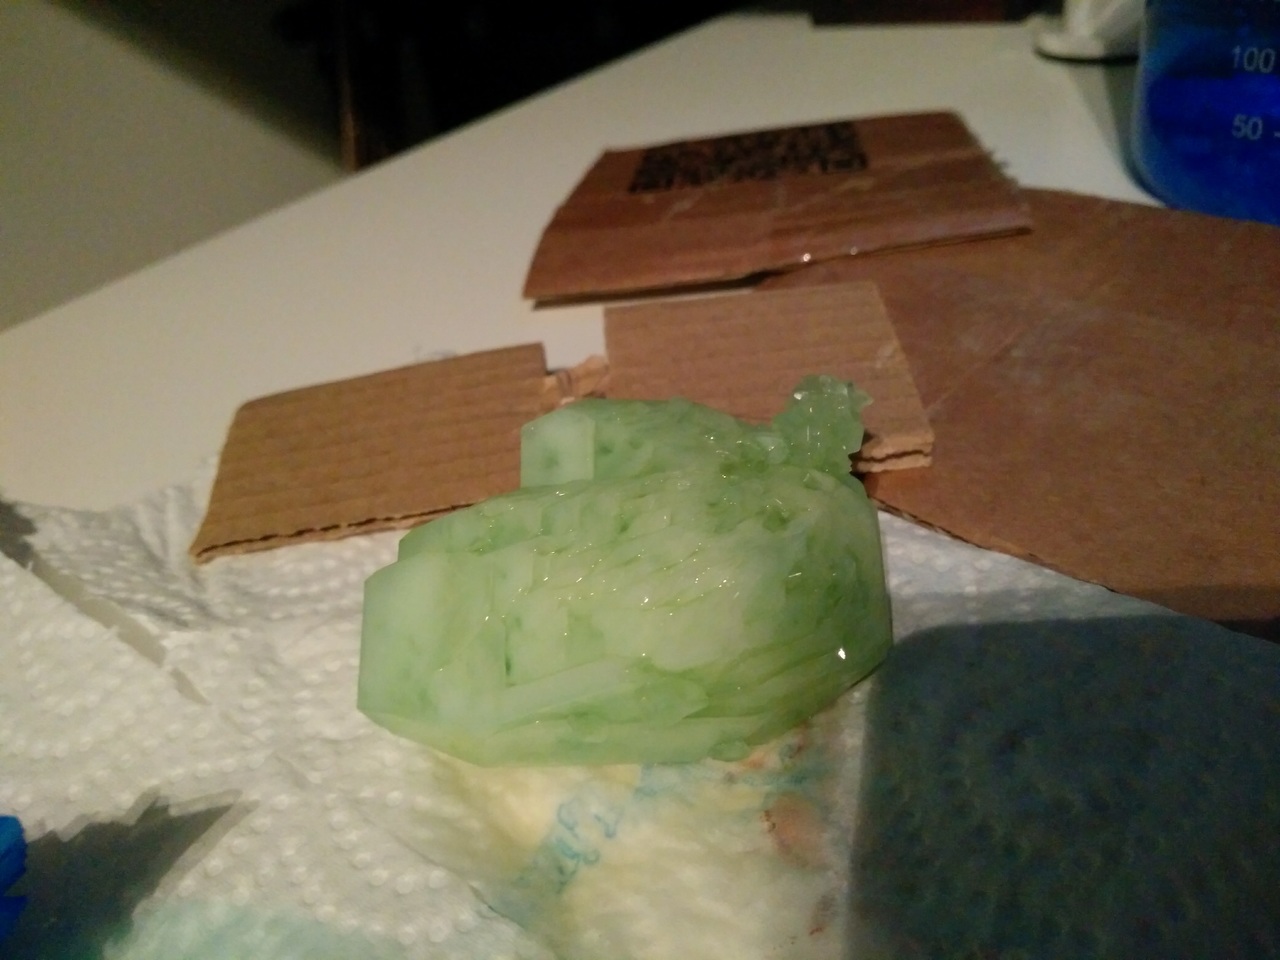
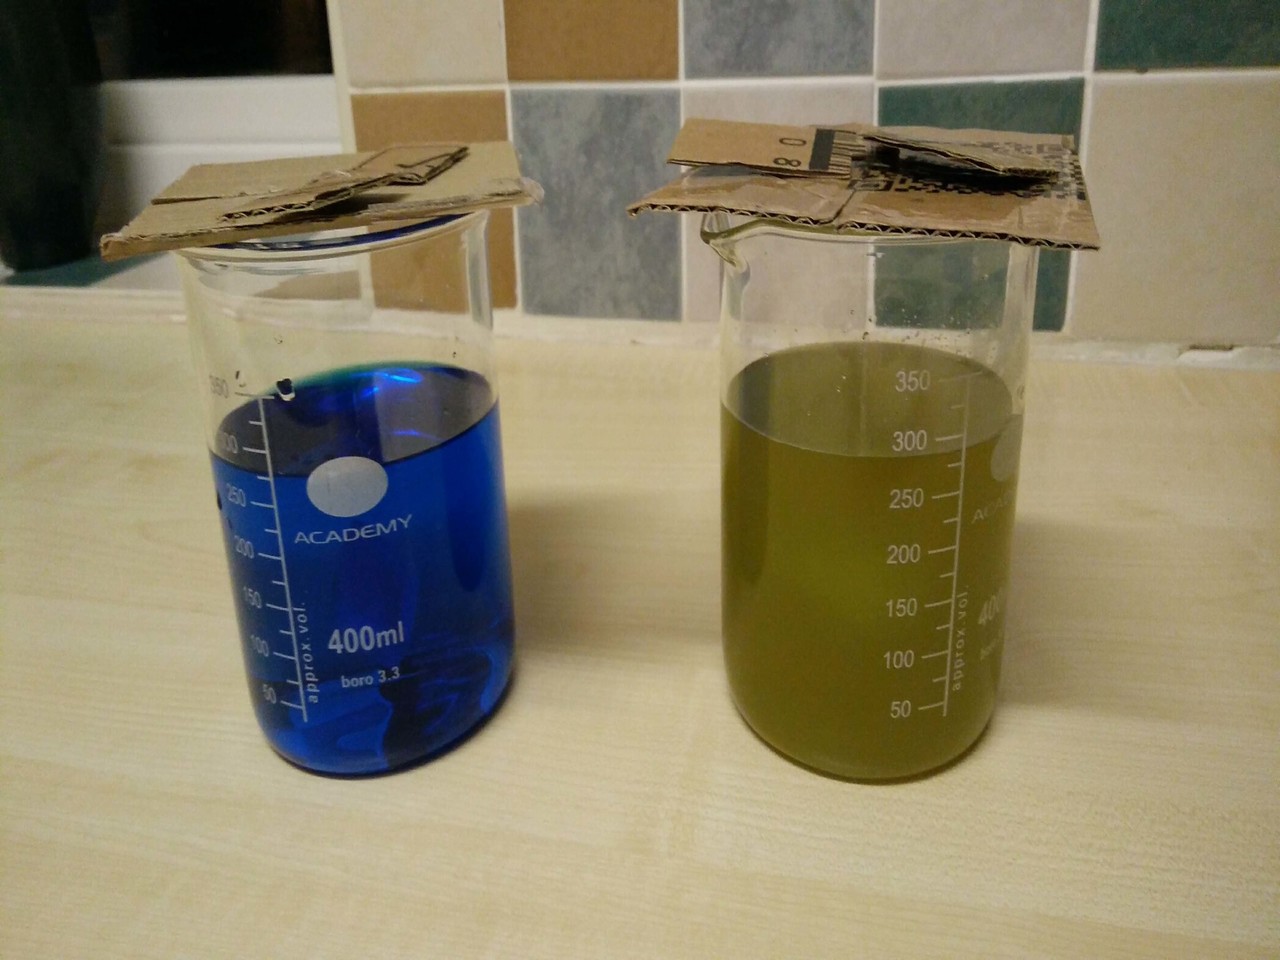
Fortunately, I planned for this event. I grew several smaller seed crystals a few weeks ago to use as a backup in case of disaster. If there's one thing I've learnt, it's to plan for emergencies. I've filtered the solution and ensured that it's stable and submerged the backup crystals. I should be back on track within 1-2 weeks.

I've hosted and created many, many Minecraft servers over the past several years. My career and interest in Web Hosting originated from Minecraft. I run all my MC servers over several VPS via SSH. I once hosted a modded server for my friend in New Zealand and his friends. Occasionally, they would need to restart the server from time to time, which required messaging me, then me having to log in to the server via SSH and restart it manually. This was quite inconvenient for them, especially if I was busy or working. I decided to create my own Bash & PHP script that would restart my MC server once a button was pressed on my site.
It took a little while, as I'm not familiar with PHP coding. Yet I was eager to complete this task. I created a new website specifically for our server, then added the HTML for the button. On one of my VPS, I created a PHP script to interact with the HTML button. This PHP script would then login to my VPS, then run a Bash script. The Bash script itself would then login to the server as a specific user, then do a basic check to ping my server to confirm if it was online, then if the server wasn't pinging, it would then automatically restart my other Minecraft bash script to boot the server. It took several days, but I felt a great sense of accomplishment once finished. I also learnt quite a lot about bash scripting and PHP along the way, so it was beneficial for both myself and my friend. You can view the website itself here.

As proud as I was, it wasn't enough. I still desired something even easier to use, more control for my friends. Eventually I found a new server to play on with new friends. They rented a server from a provider called 'CubedHost' so they received a basic server with a control panel. It was lovely looking and contained a console screen for commands and options to start, restart, upload files, activate plugins etc. I wanted it. Sadly, the control panel wasn't open source, or available to purchase. I set out on a quest to find a similar control panel. I found quite a few, but most were either incompatible, only ran on Windows (My VPS are Linux) or they were outdated. Eventually, I found one I liked "McMyAdmin"
This control panel was appealing, it contained a modern, bootstrap style interface, had the features I decided such as console, plugins, FTP etc. Plus it was free. I downloaded the software and installed it on to my server, it was incredibly easy to setup and configure.
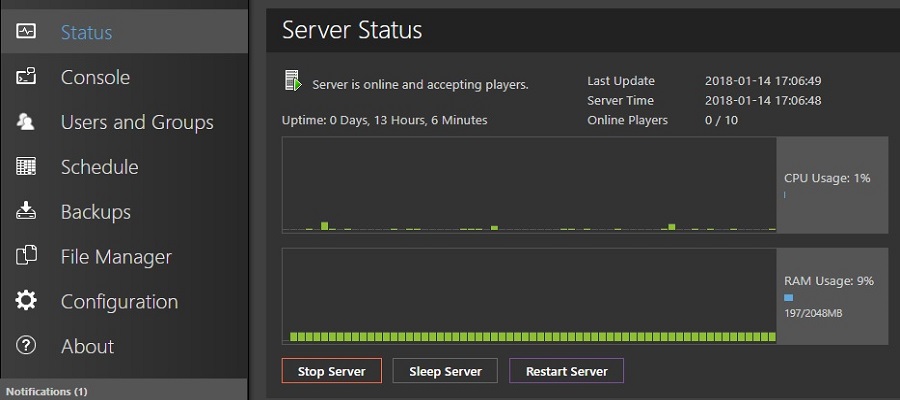
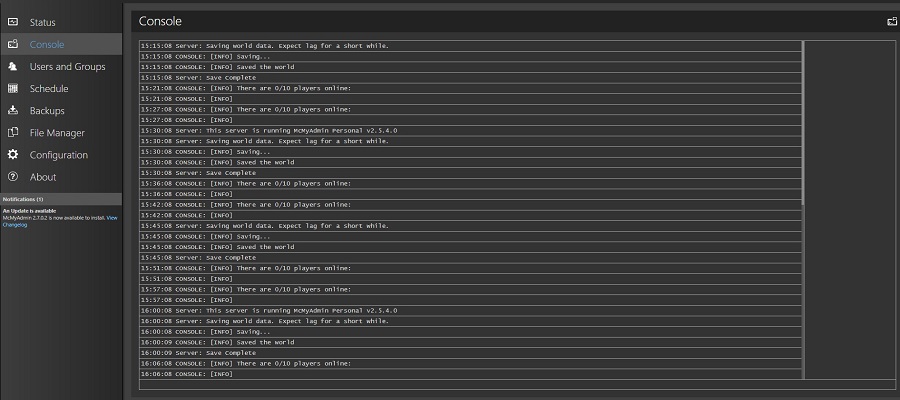
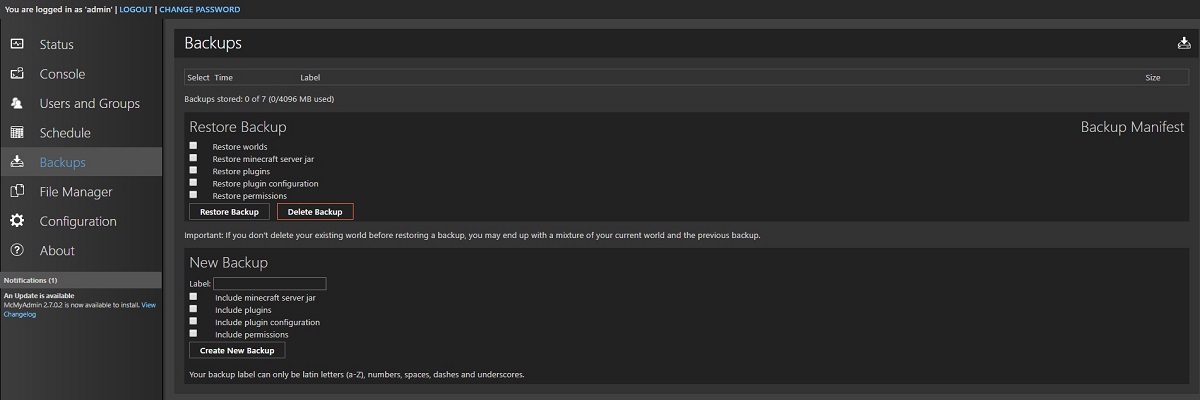
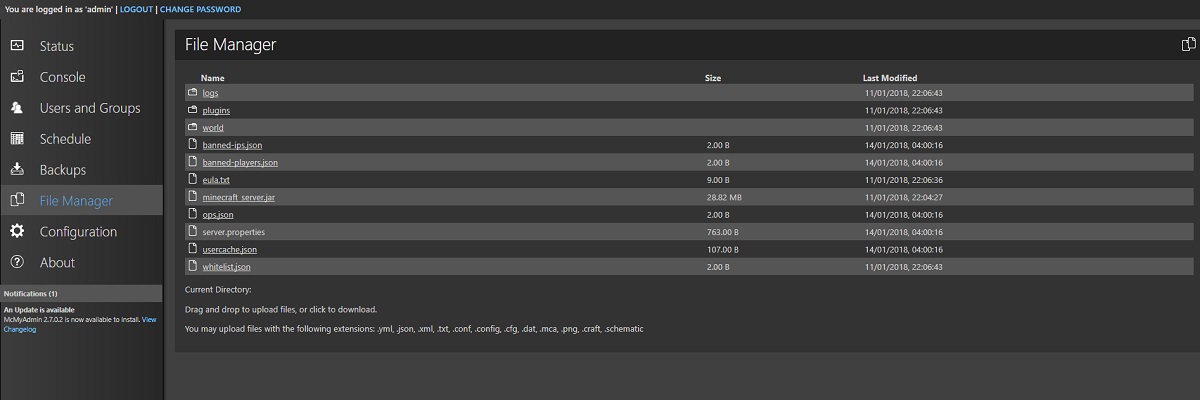
The control panel is user-friendly and my friend has been using this quite comfortably. He can easily start and stop the server when needed and add any plugins he requires. I personally still prefer the traditional way of maintaining my MC server via SSH access, as I feel there's a lot more control and easier to use. A quite handy piece of software, I'd recommend for users looking for a control panel to manage their own Minecraft server.

I'm always looking for new things to learn and new software to experiment with, especially when it relates to my profession. My current IT job started when my friend Simon introduced me to web hosting and servers. I didn't have any knowledge of servers and never touched Linux before. Then, a few years later, I'm now 3rd line support at a web hosting company. Fixing Linux servers every day. Simon was once a Systems administrator at our company. When I was catching up, he was telling me about Docker Containers for web hosting and believed it would be our future, rather than using virtual containers on KVM hosts. I was intrigued, so I began my research!
To setup a Minecraft Docker container, I run the command:
docker run --name minecraft -v /home/minecraft:/home/mcmyadmin/Minecraft -e PASSWORD=password -e JAVA_MEMORY=2048 -p 8080:8080 -p 8123:8123 -p 25565:25565 --name mcmymadin -d edenservers/mcmyadmin
This command runs the docker container from the repository edenservesr/mcmyadmin and creates the docker called 'minecraft' which then mounts the directory /home/minecraft on the VPS, to the container directory /home/mcmyadmin/Minecraft. So the first part is the directory I would use the access the folder on my VPS itself, wheres the second section is the actual folder that I'm accessing within the container itself, so where the files are stored to for the instance I'm running, rather than the directory I'm using to view the files. Then I'm entering my password for McMyAdmin, setting the memory limit to 2G, binding the software to port 8080 and the Minecraft port to 25565.

With Christmas coming up soon, I was looking for gifts to give and my favourite kind is ones that I create. My step-brother had brought over some wine that he brewed himself for us to try. It was incredible! He brought 2 bottles, 1 for plum and 1 for strawberry. The bottles didn't have anything on them and he'd made over 8 different kinds of wine. I decided to test my graphics skills by creating a wine line for as a Christmas gift.
I first had to decide on the style of the label I wanted. Either an old fashioned, traditional wine label, or a modern one. I wanted to experiment with an old-fashioned label at first. The main difficulty was creating the logo, as there wasn't one for his business. My original designs showed a traditional style label. I didn't have much to go with in terms of the logo and the name "Topham" couldn't be associated with a lot. I attempted to combine styles of classy gentlemen and a top hat into the design. Trying to use grapes as a bear of sorts, it was quite the disaster, but it was my first concept.
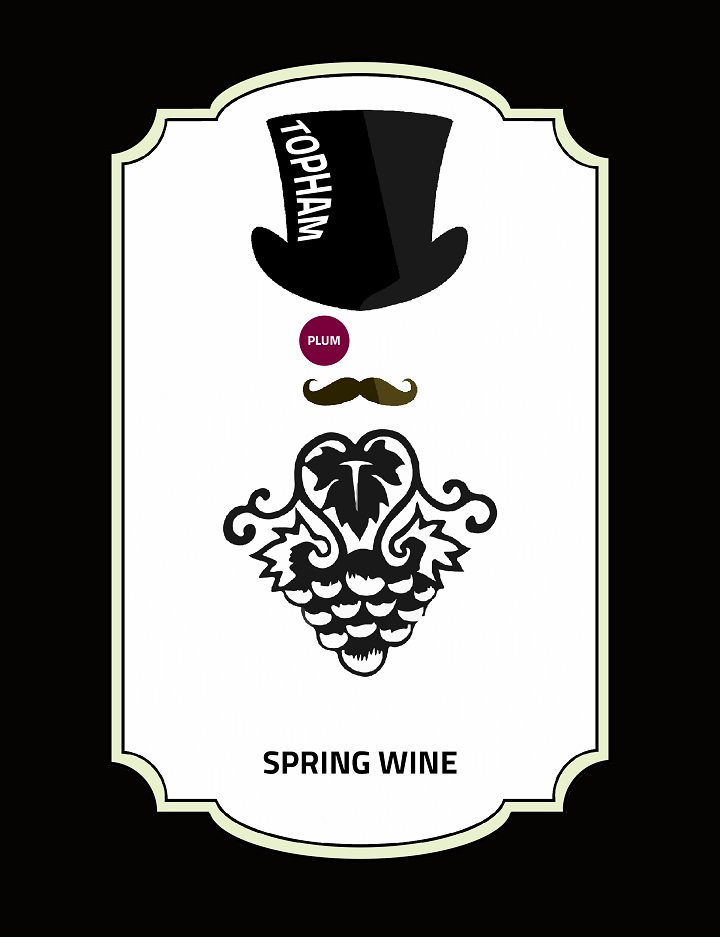
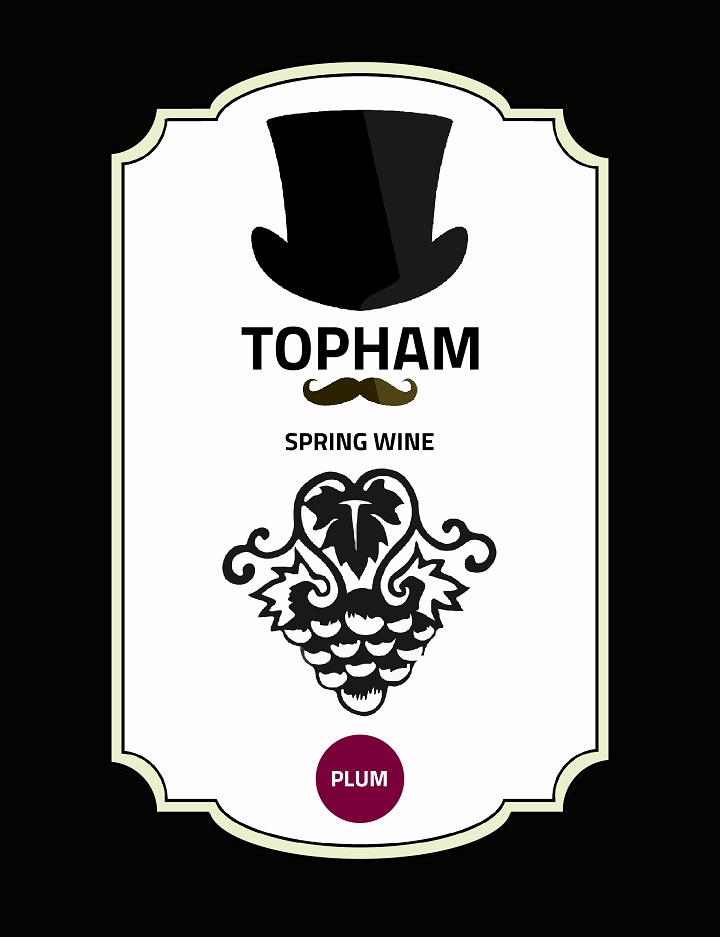
Most of my graphics teachings has been tailored to modern styles and my step-brother John is quite young. I was browsing on Google for anything to use as a logo. Then, I saw it... a silhouette of a man wearing a thick tie. John wears a black shirt and a thick tie at his current job at a casino. It was perfect! Using the concept of the silhouette, I created the first concept for the modern wine label. He uses spring water instead of tap water in his wine, so there was the headline. "Topham spring wine". After creating the first concept, I then tried experimenting with different ways to incorporate the flavour section. I studied different examples and had 2 main themes I preferred. I also converted all of the designs from Photoshop to illustrator and the difference was incredible. Much better quality, no pixilation and fantastic overall.

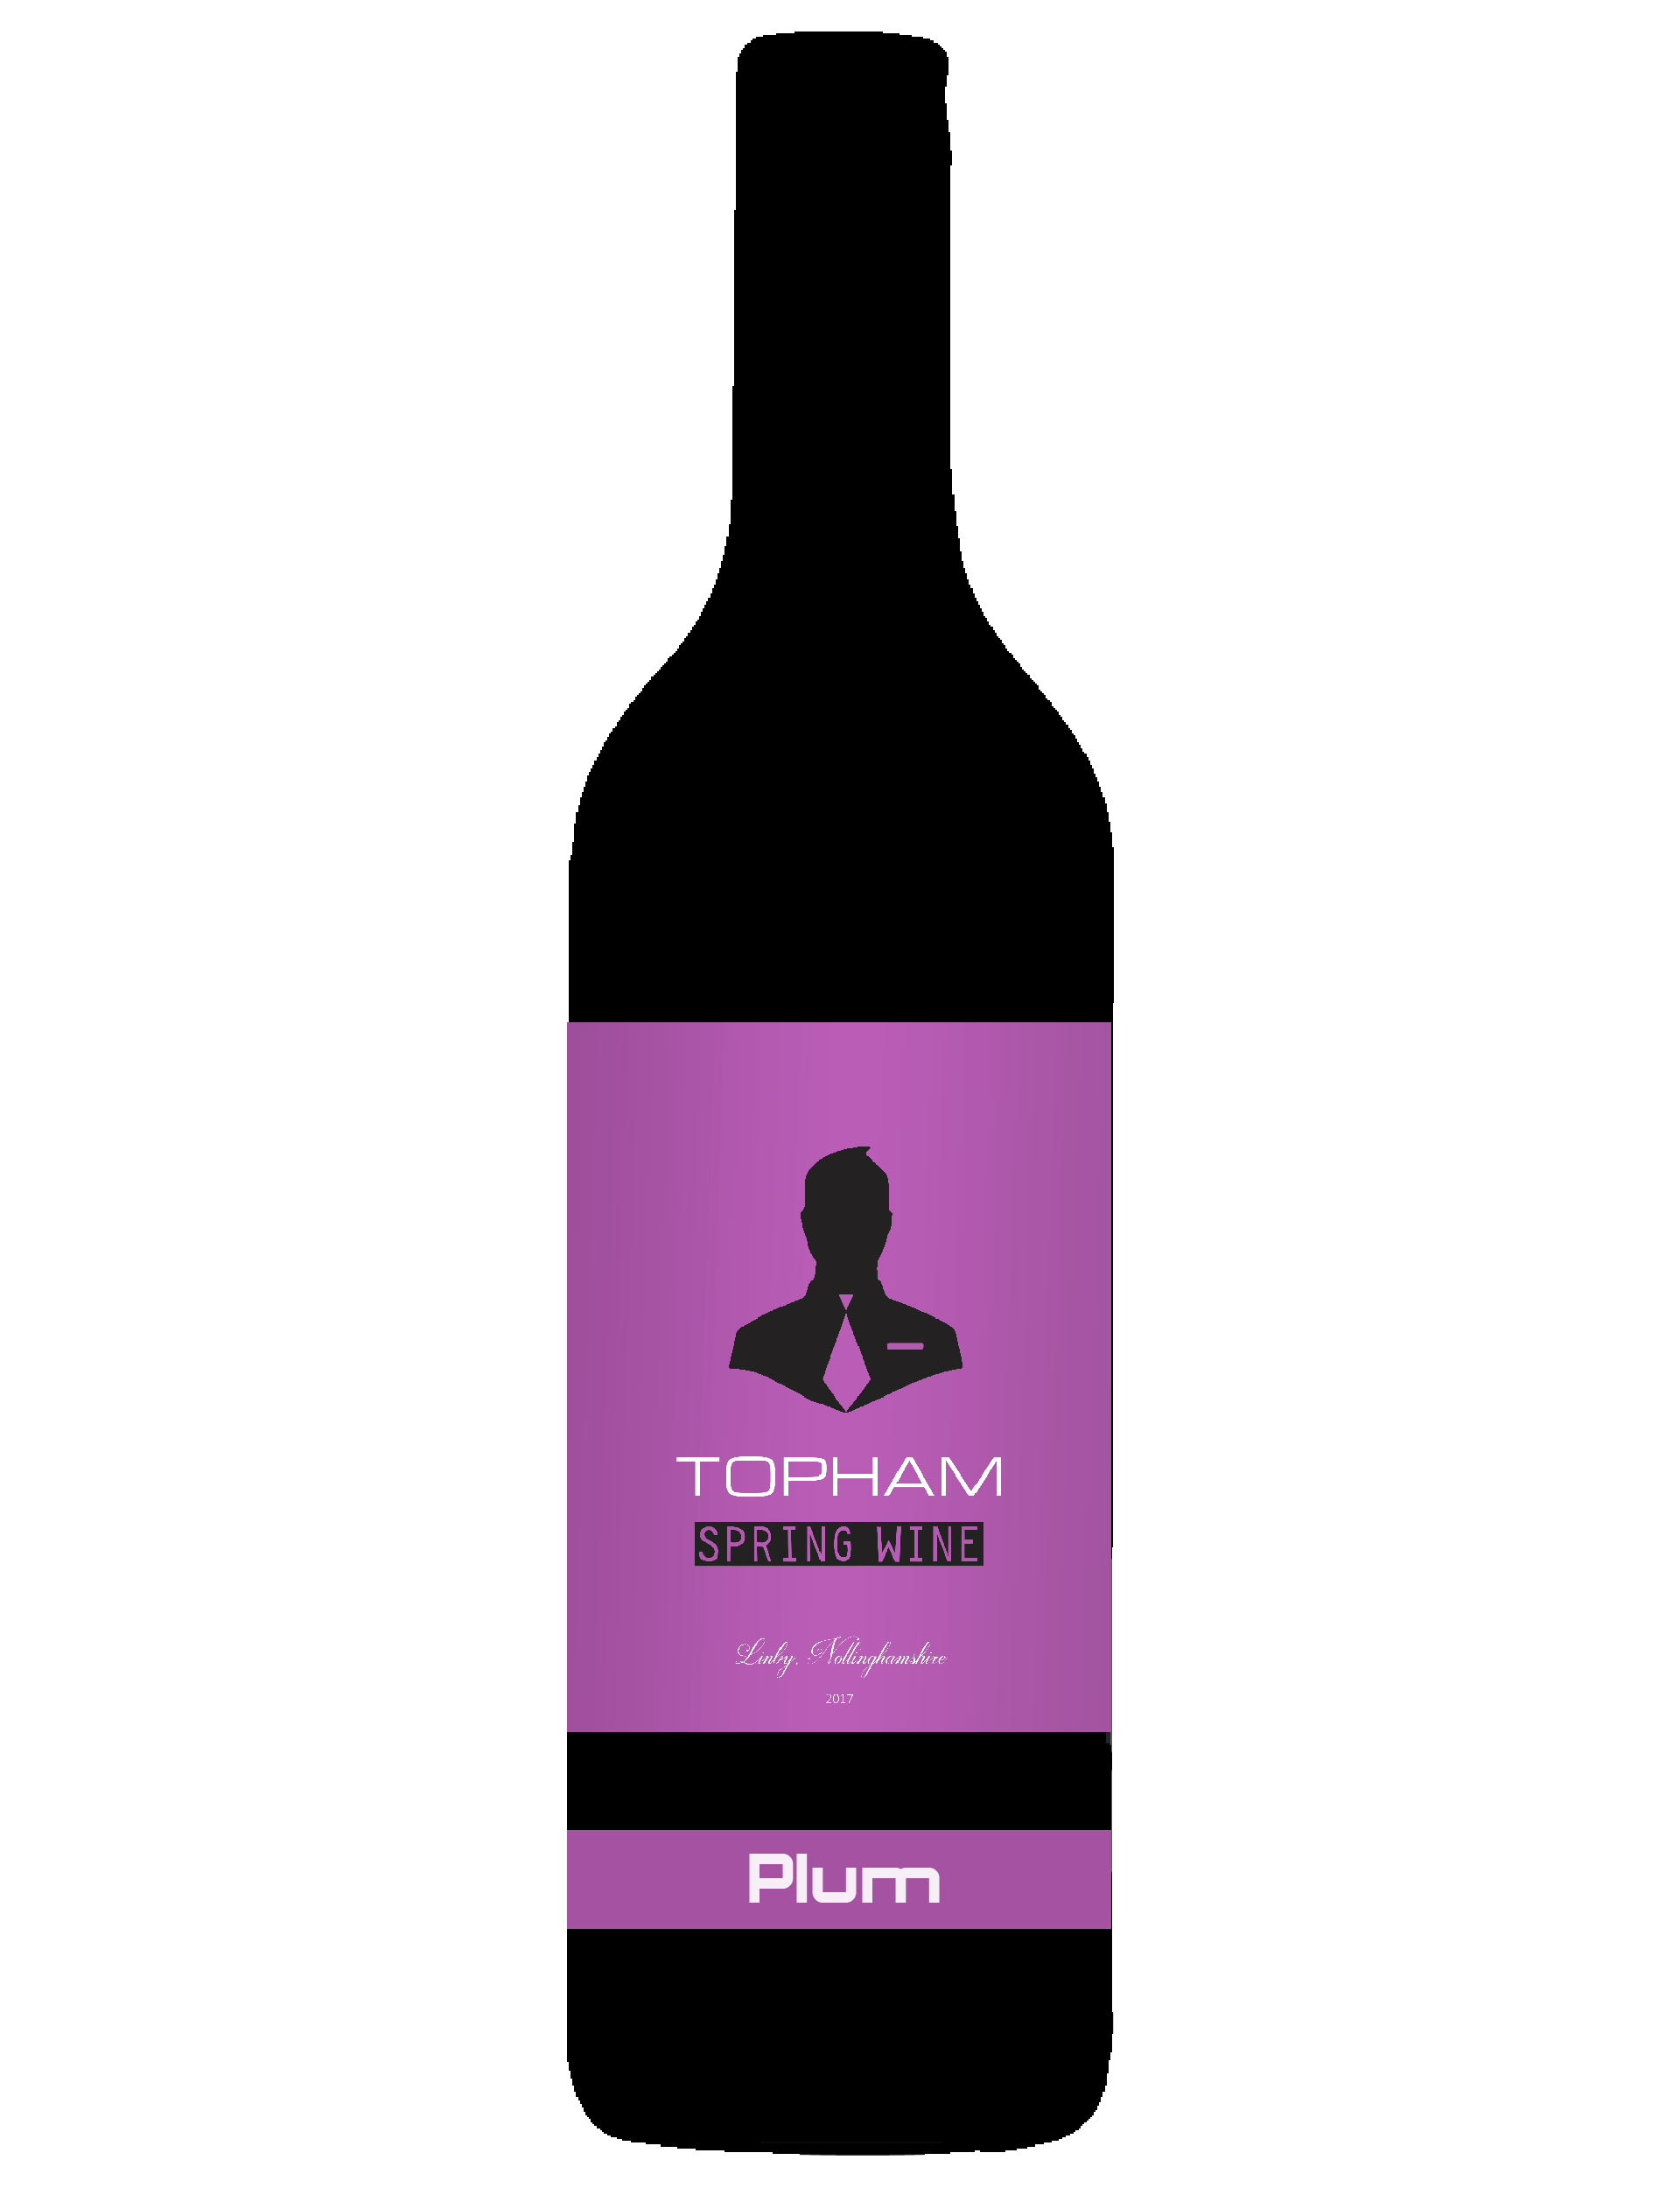
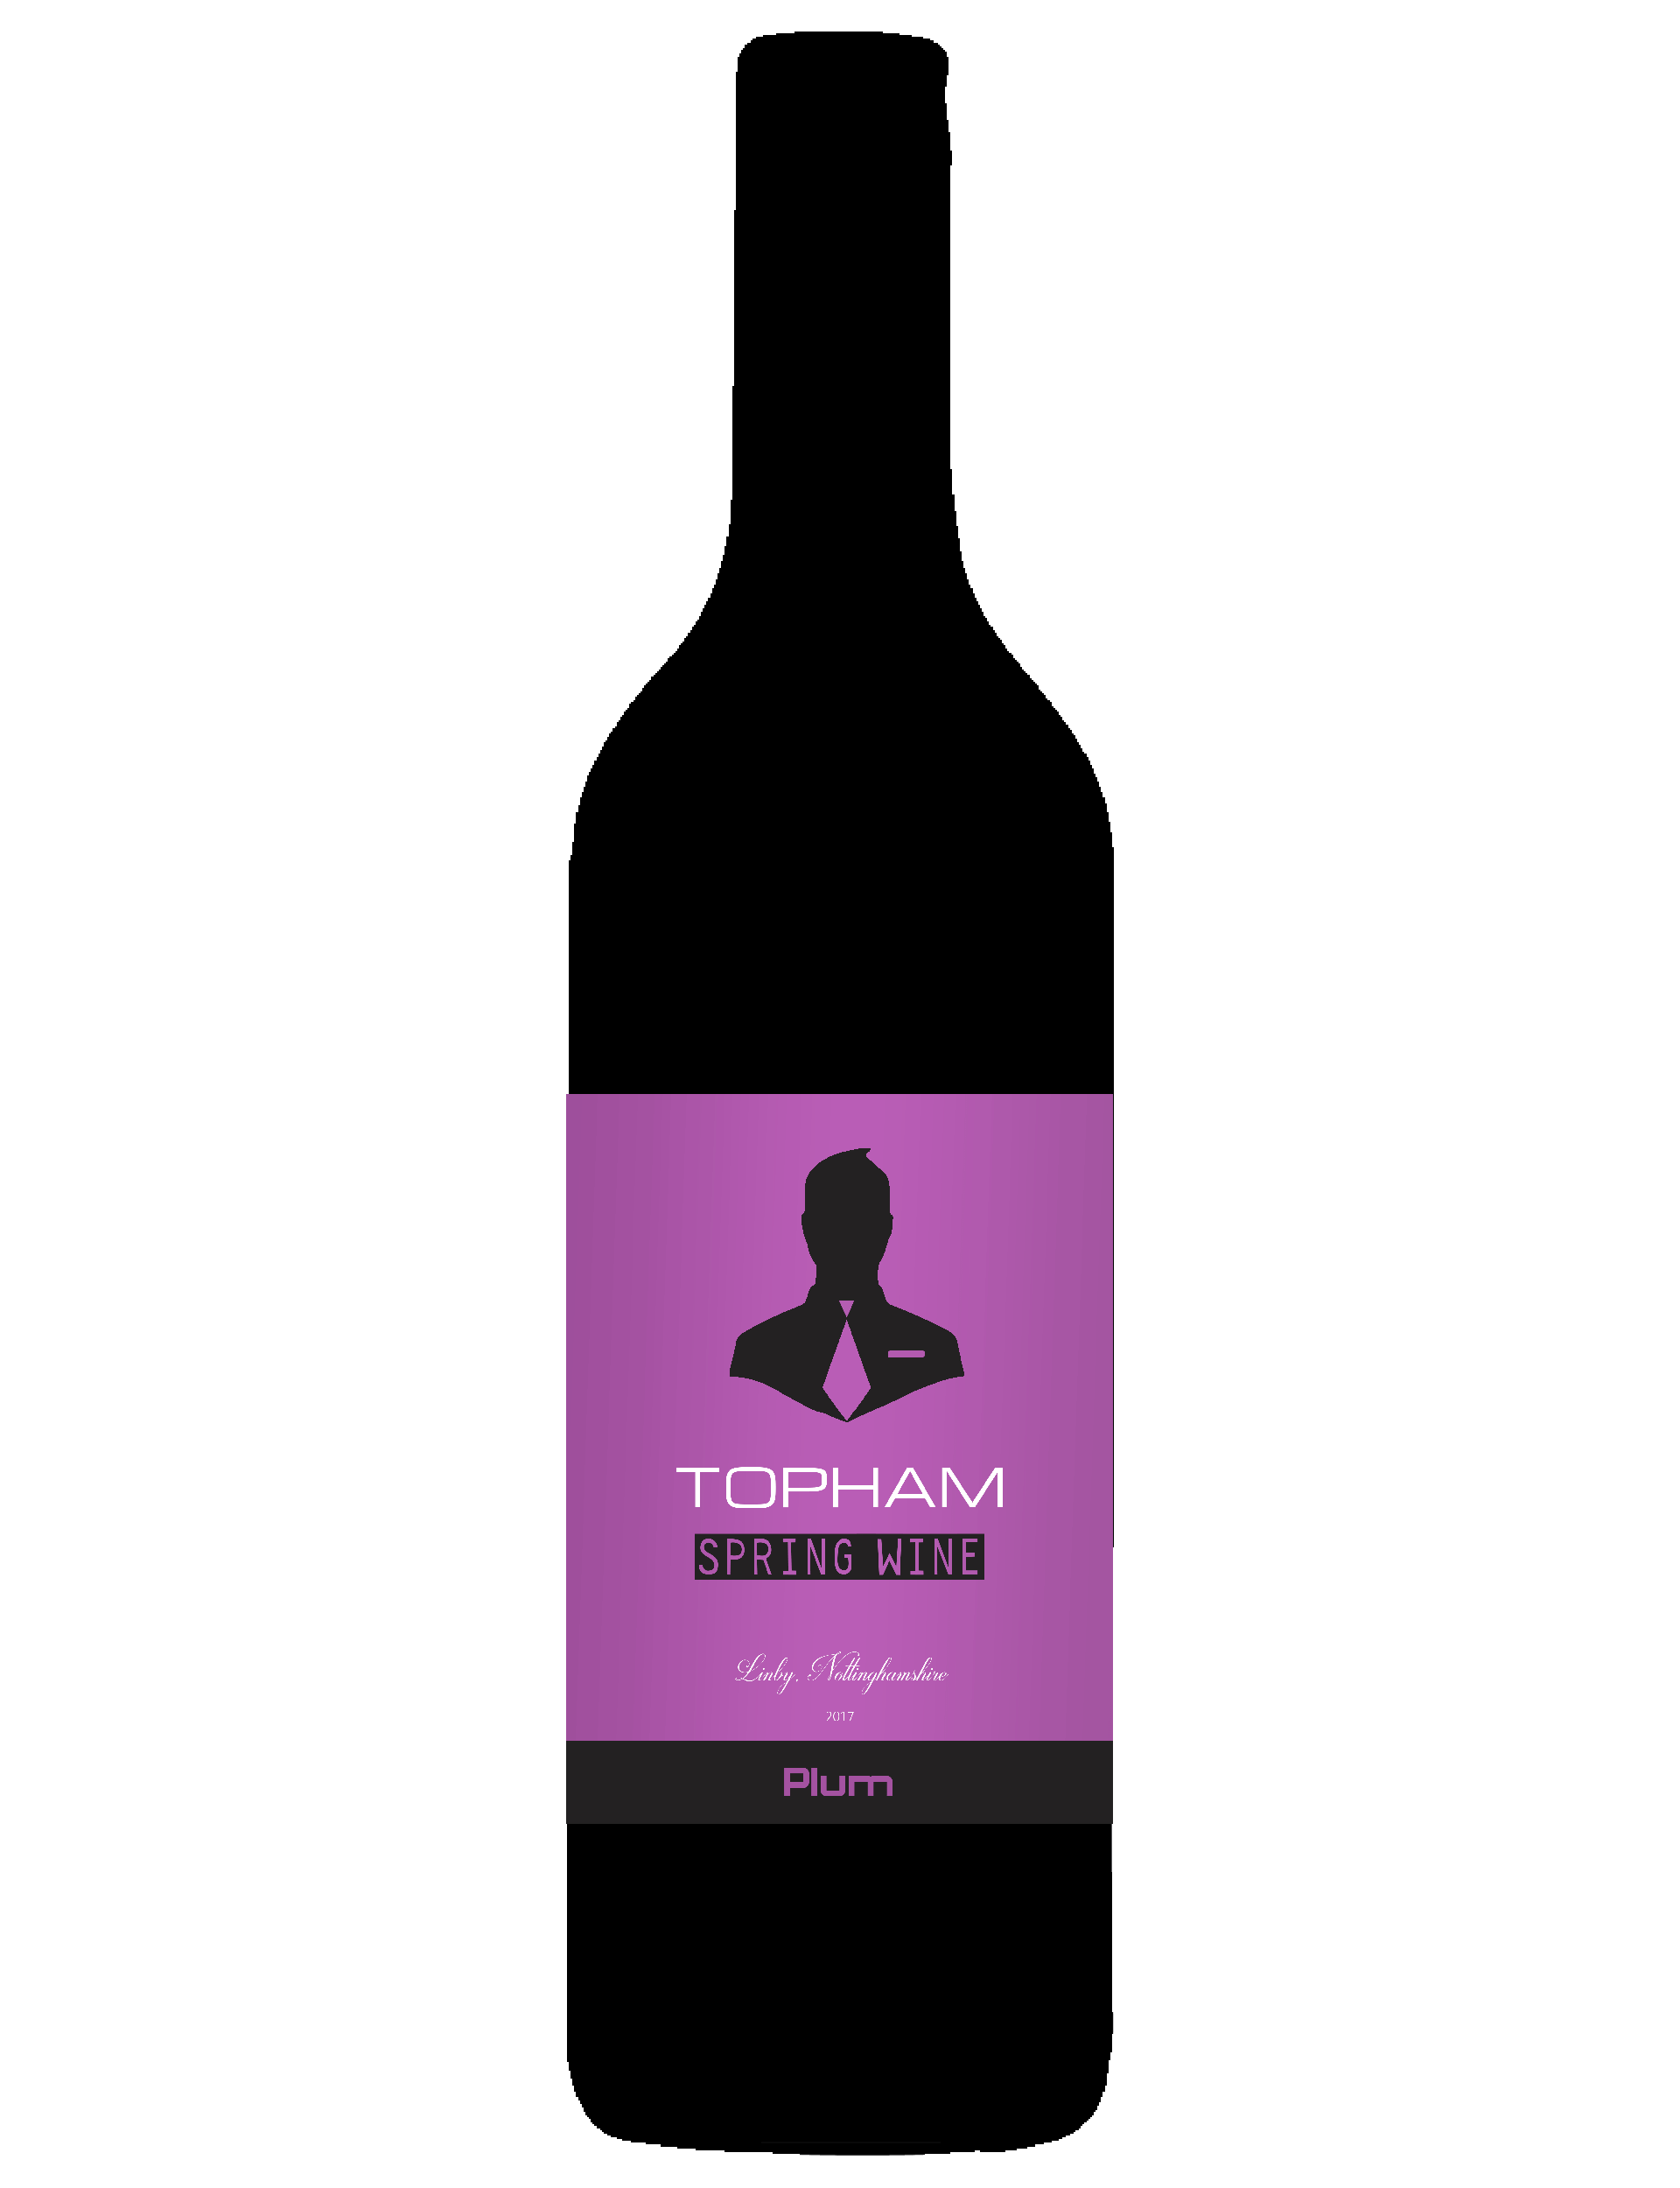
I asked the opinion of many friends and family for their thoughts on the 2. Everybody chose the 2nd image for the flavour section. I was going to change the text based on the flavour, but I had a better idea. I decided to change the background colour, based on the flavour of the wine. John had made various flavours. Banana, pear, blackberry, plum, merlot etc. I experimented with different background colours, then I also added a large silhouette of the fruit itself in the background to give it a little extra detail. I even tried another concept suggested by a friend to add the fruit in the flavour section at the bottom.
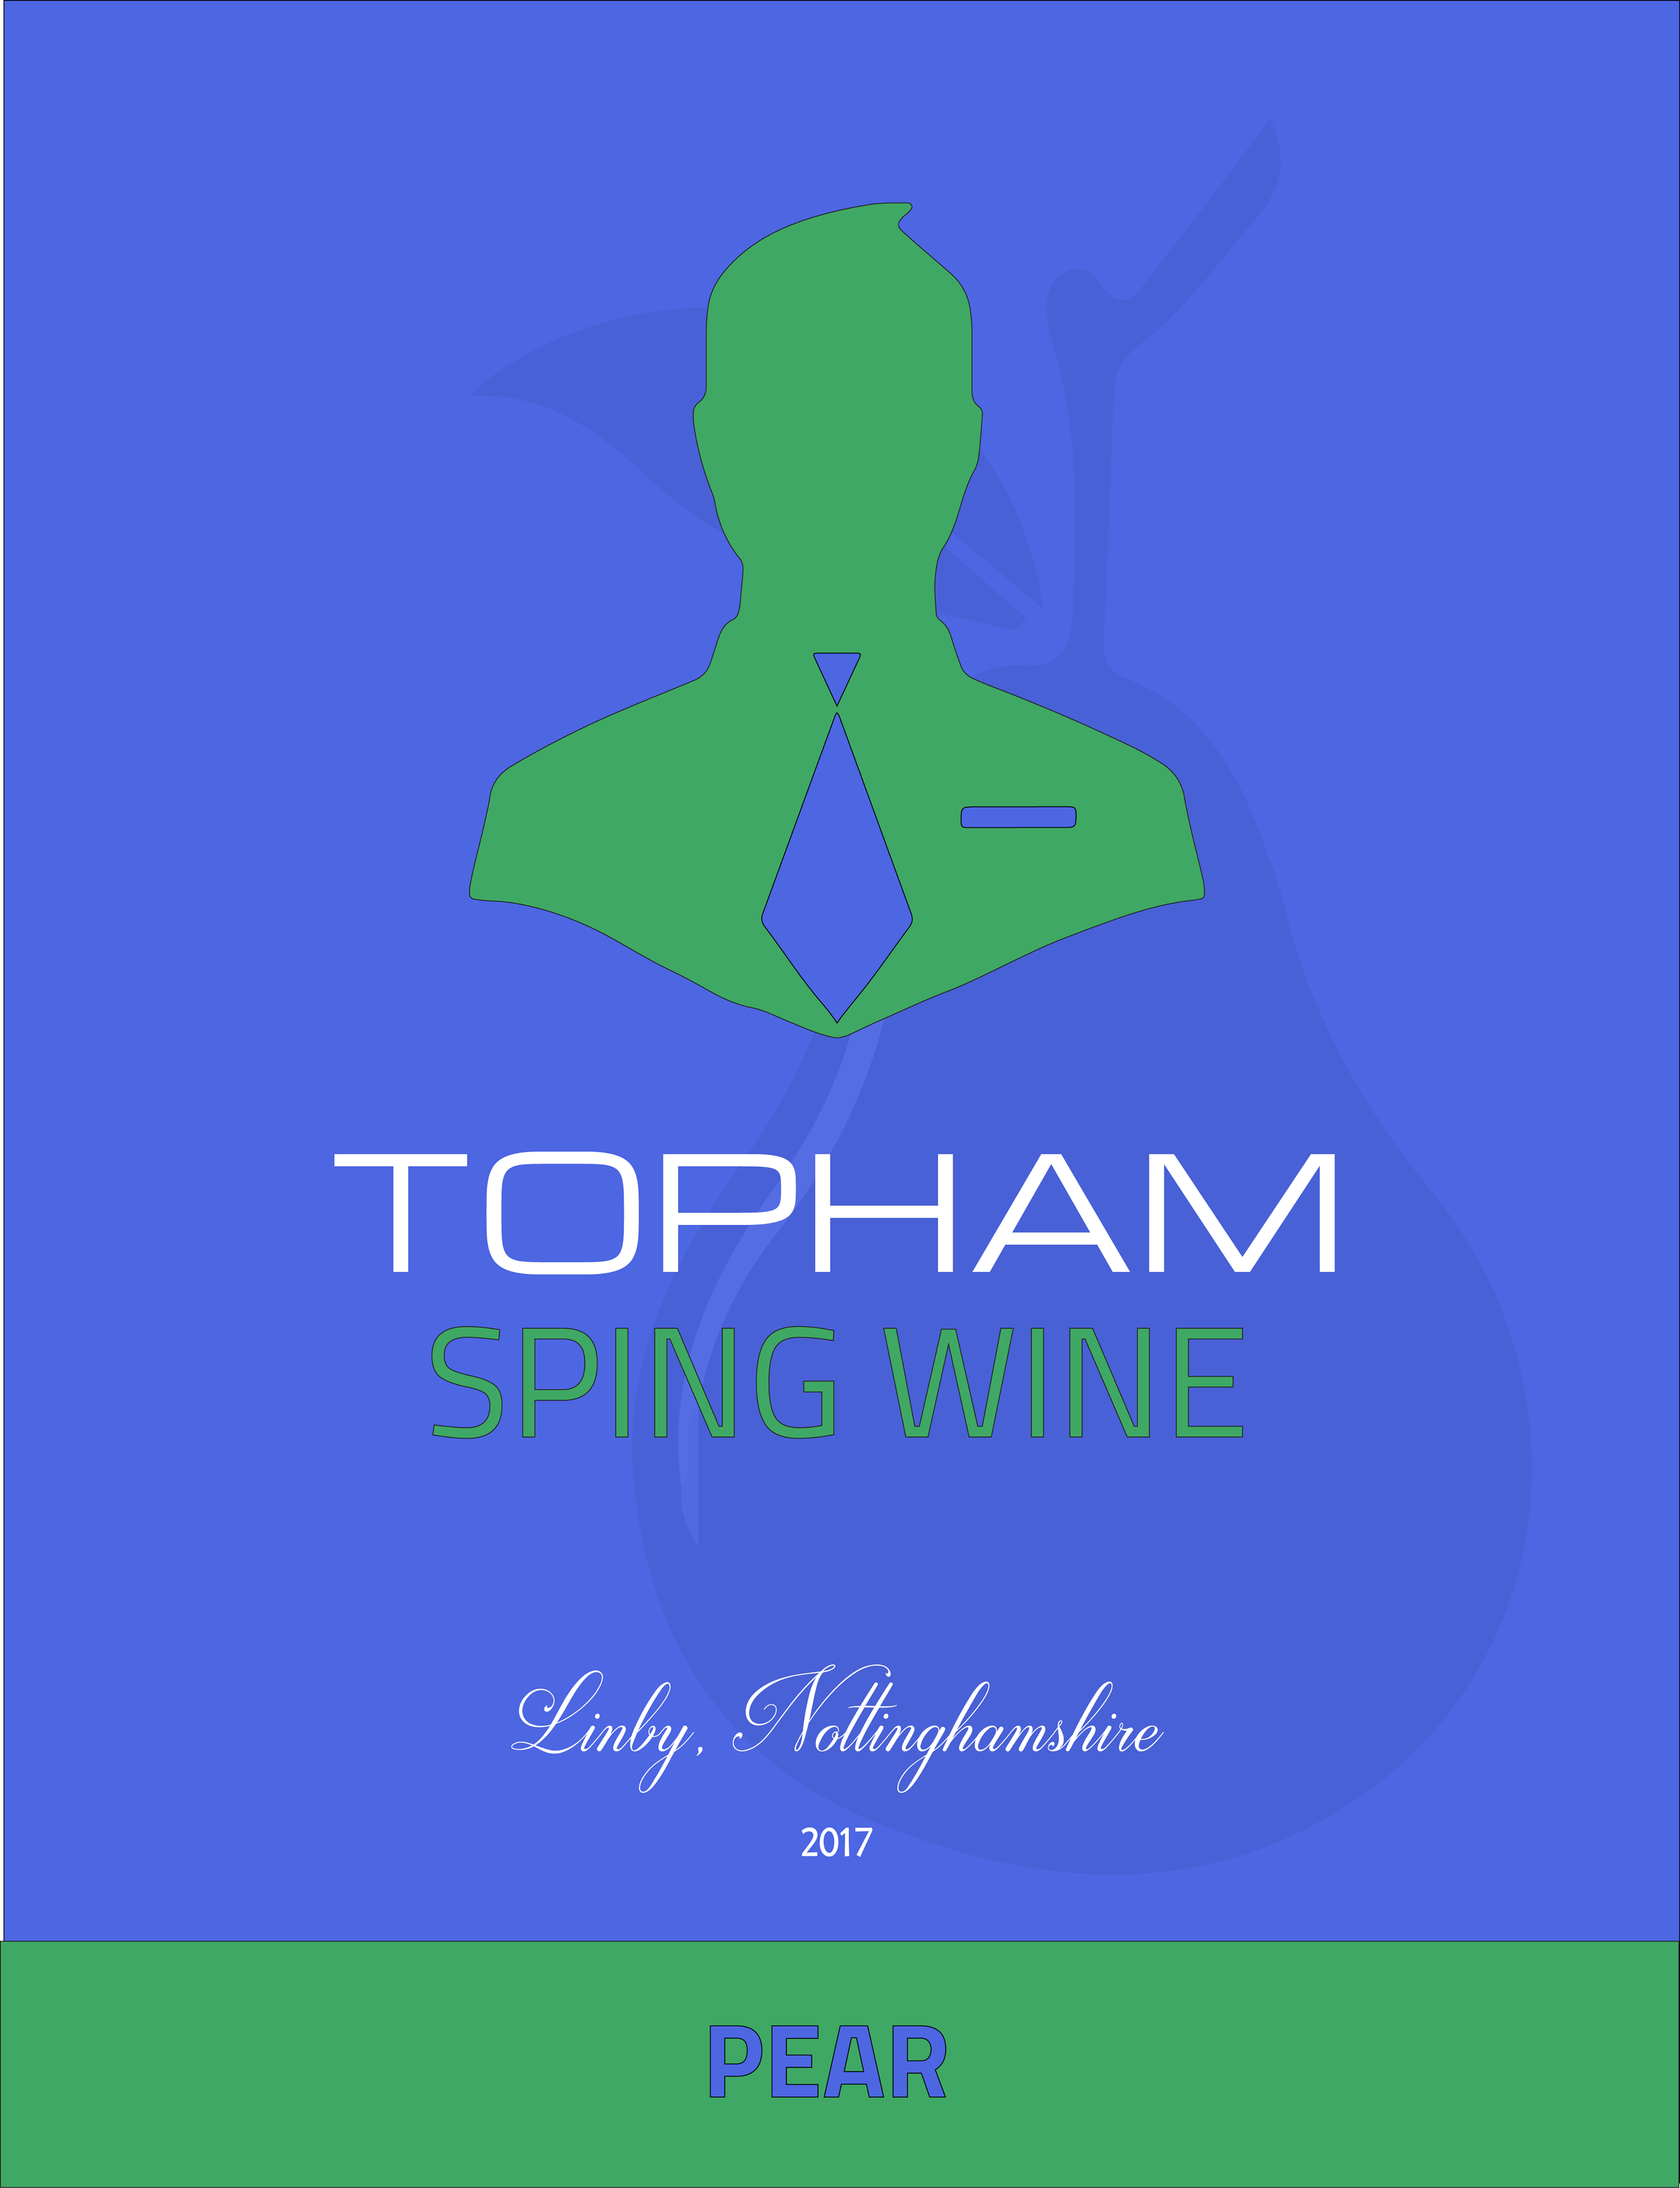


I was thrilled with the designs. I ended up tweaking many of the features, such as changing the fonts, the colour variations, I reduced the fruit silhouettes to be a fixed, smaller size across all of them as they were stealing too much of the attention from the logo. I made them all 3.5 x 4 inch, the standard wine label size. I spent a good month on this project, asking dozens of people for their opinions, how visible it was, did the colour schemes go well together etc. After much tweaking, I finally completed the 8 designs for the individual flavoured wines, I will ecstatic with the final designs.








I purchased some self-adhesive printing paper for the labels. We were going to print using our own printer. Then... disaster struck! The labels came out horrifically. The colours were wrong, the fruit silhouettes weren't visible, the fonts were too small. It was a nightmare and this was only a week before Christmas. Luckily, my step-Dad recommended a printing store "Elson and Hall". I sent them the 8 designs, not knowing what to expect. They arrived in the post on Christmas Eve, as I waited in anticipation. Then... I opened the packaging. To be amazement, they were spectacular! All the details were there. The silhouettes, the perfect colours, the fonts were great, it couldn't have been better.
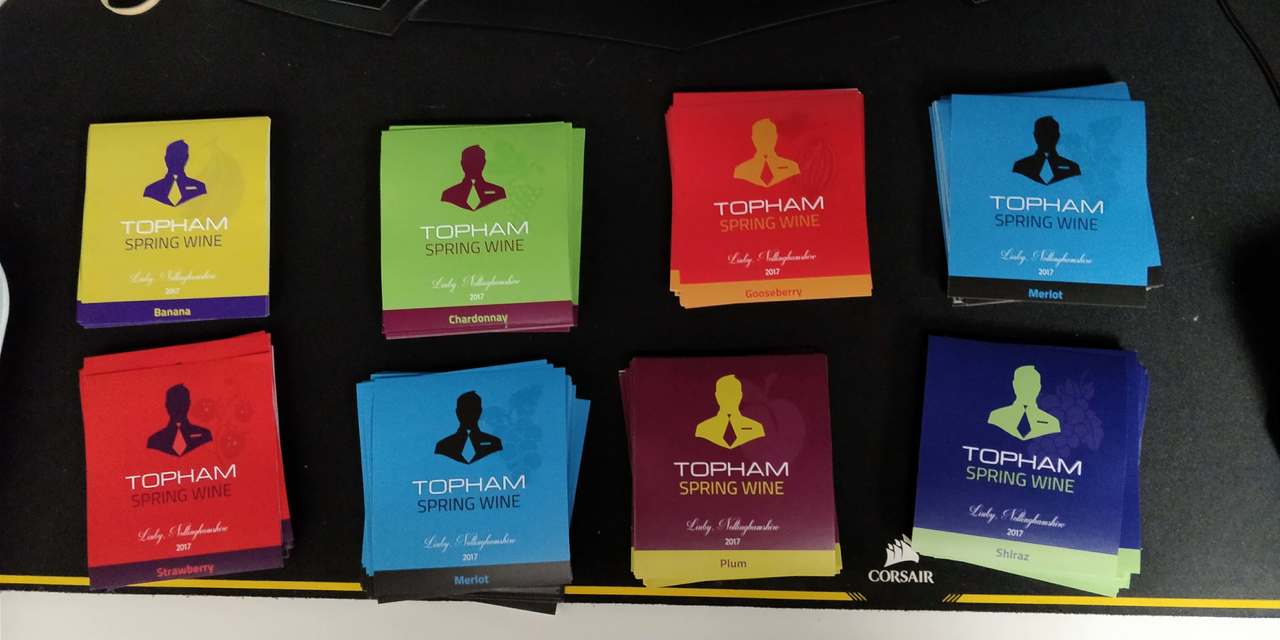
I wrapped them all up on Christmas day (Talk about cutting it close) and gave them as a gift. John was thrilled with the labels. He sent me a photo of them on his wine bottles and they do look awesome.
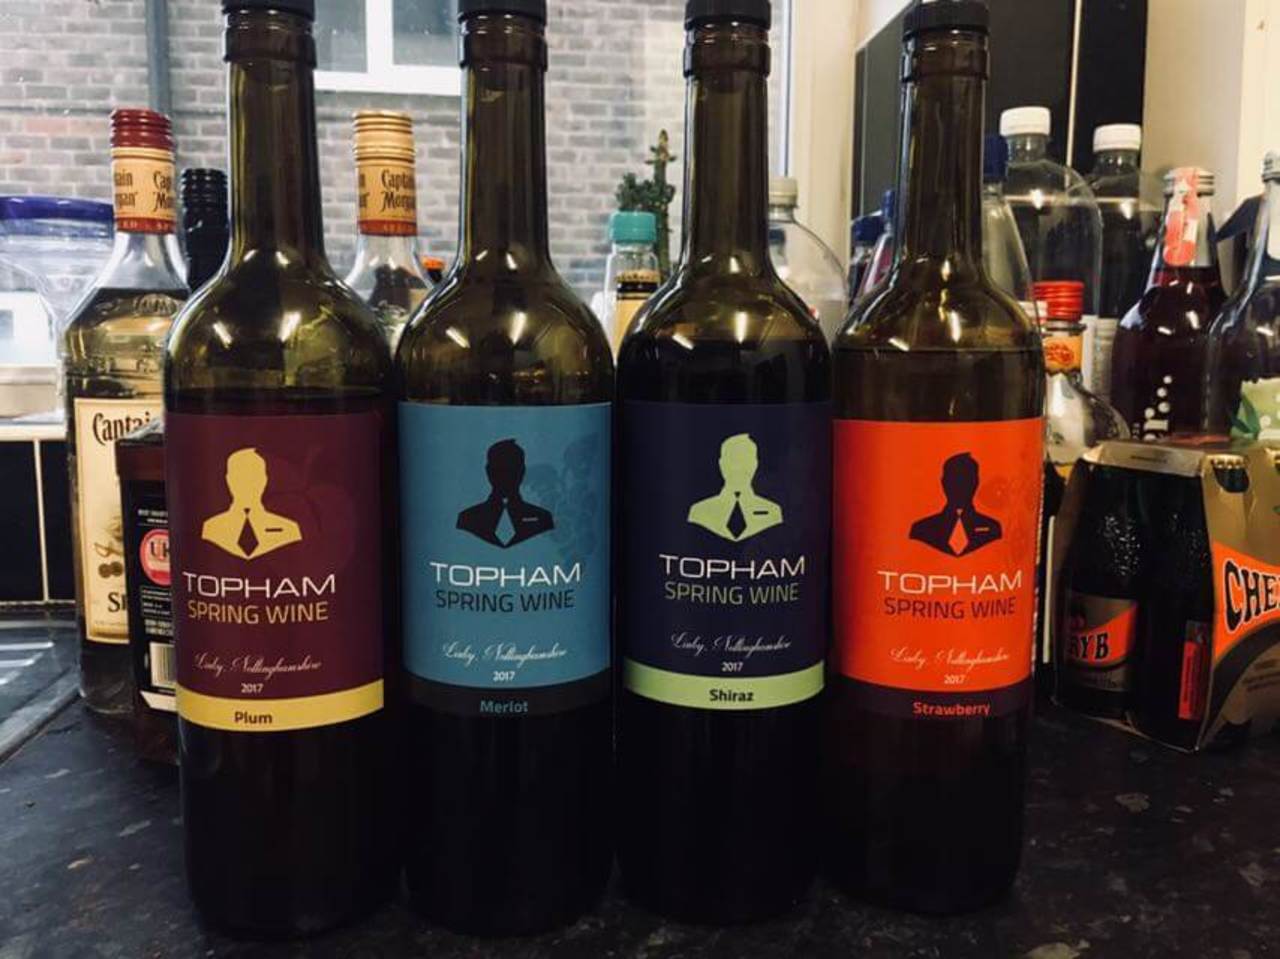
This has been one of my favourite projects to date. I loved training my creativity, sharing opinions with others. I put a lot of effort into the design, especially since it was a family member, so I wanted it to be perfect. Now, I need to start designing my own label!

Having spent so much time in a web hosting company, I've seen 1000's of websites in my time. Picking up various information and having a plan with some coding. I wanted to try and create a new site other than my current one. I'd been taking guitar lessons for over a year with an instructor. He didn't have his own website, I met him through someone else. For a surprise, I wanted to create a website for him in appreciation for the lessons he'd been giving me and making the effort to drive to my house rather than me going to his studio. Nothing excites and motivates me more than a surprise project for a friend.
Although I can code in HTML / CSS, I wanted to build this site in Wordpress to gain experience as an incredibly large quantity of our customers use this CMS. I looked at other example sites relating to guitars, yet they were incredibly basic and pretty bad, incredibly old-fashioned. Maybe because music teachers aren't renowned for their IT skills.

Originally I was going to start brewing my own Wine. I told my friend about the project and that I was creating my own wine labels. He was telling me about his new job as a graphics designer and he offered to design me a label, in exchange for a little favour of a New Zealand Beer! The wine kit would take a month to create, whereas the beer only takes 10 days before bottling. Therefore, I felt it would be more efficient to create the beer first, then after 10 days, the equipment would be free to use for the wine, rather than having to wait a month vice-versa. So I set to work.
Equipment List
Youngs 25 Litre Fermentation Bucket with Bottling System
Glass 500ml Amber Bottles - Crown Cap - 45 pack
Festival World New Zealand Pilsner - 40 Pints
Youngs Beer Bottle Capper
Liquid Crystal Stick-On Thermometer
Young's Brew Belt (Universal Usage)
Simple Syphon
Sodium Metabisulphite
Youngs Plastic Spoon Long
I purchased all the equipment I needed and the beer kit 'New Zealand Pilsner' as it had all his favourite features, a fruity flavour, refreshing, a little citric and since he lives in New Zealand, there's nothing like a bit of homebrew!
I gathered everything needed and began as quickly as I could, as I couldn't contain my excitement, I'd been wanting to brew for weeks. I had my 25 litres / 5 gallons fermentation bucket, ready to make 40 pints worth. (Always good to make extra for friends and bribes) I first began with sterilising the equipment. Using some Sodium Metabisulphite, I placed my essentials, such as a spoon, hydrometer and airlock inside my bucket, added water and a teaspoon of the powder, sealed the lid and thoroughly shake everything around, coating all the walls to sterilise everything. Any bad bacteria is going to contaminate the beer and ruin the taste, so this is essential. Once sterilised, I warmed the malt extract in hot water to make it runnier so that it was easier to pour.
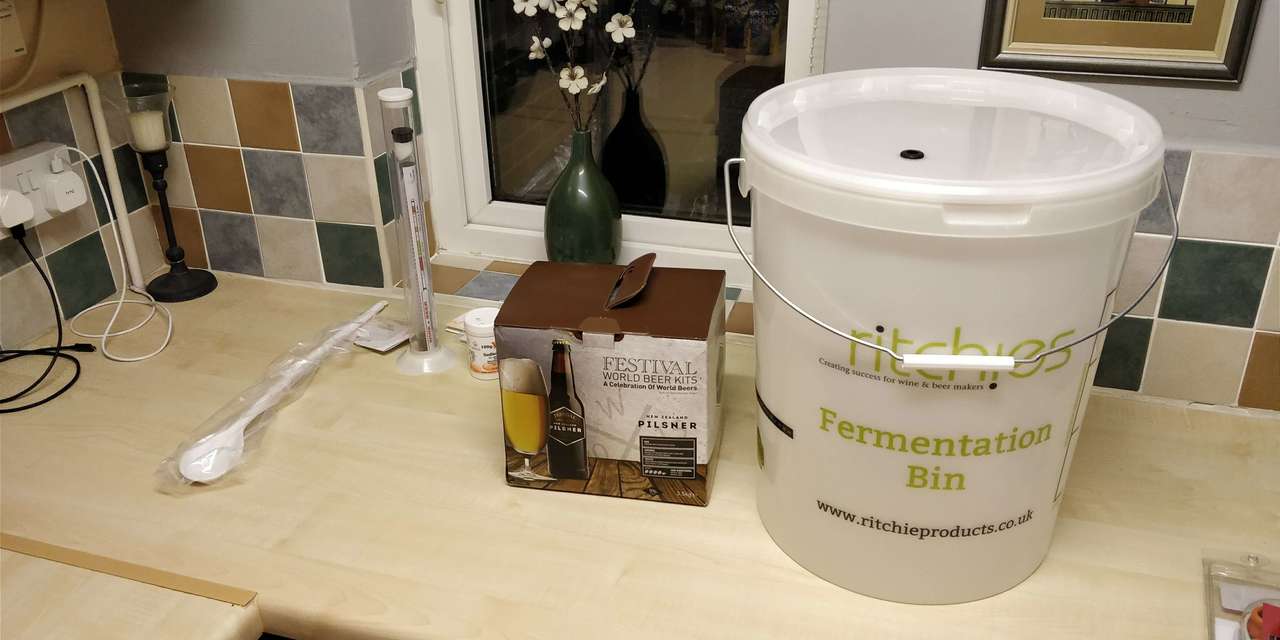
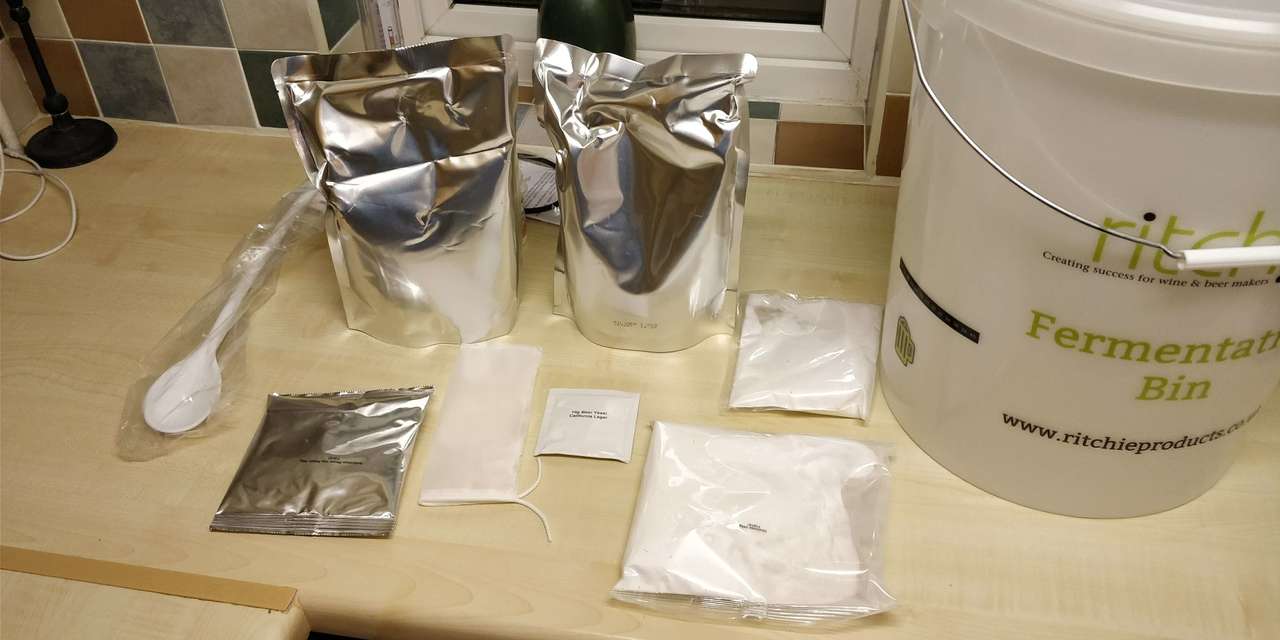
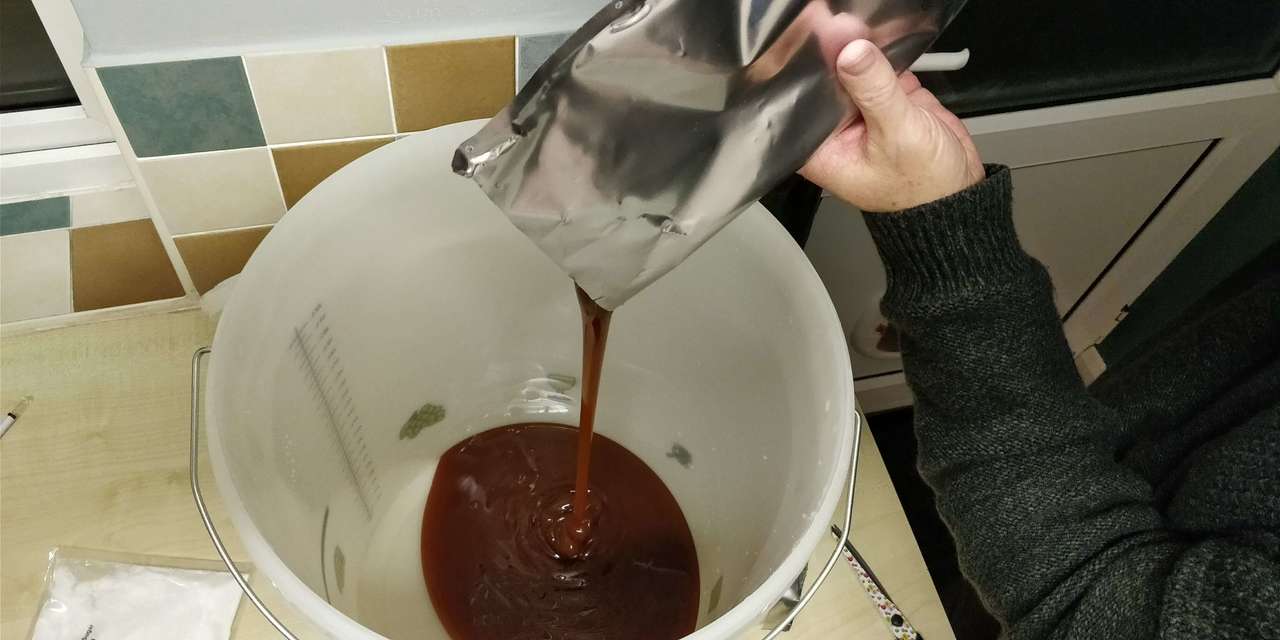
The next step was to pour the contents of both sachets of the malt extract into the container. There was a very fruity, yet strong aroma when released. I had to use a rolling pin to extract everything I could do nothing went to waste. Once done, I added 3 litres of boiling water to the bucket, then began to thoroughly stir the solution until it turned into a watery substance rather than thick and gooey. Once mixed, I then added my bag of priming sugar. This is going to be what the yeast converts into alcohol. I then thoroughly mixed everything together until dissolved. Once done, I had to fill the entire 25-litre bucket to the 23-litre mark at the top with cold water. As my sink isn't very flexible, I had to do this manually via 40+ pours of a measuring jug. Everything is then thoroughly stirred to ensure everything is mixed.
Using my hydrometer I took a sample of the beer then wrote down the current gravity, which was 1.050, this helps to calculate the alcohol once fermented. I needed to wait for the solution to be at least 20 degrees before adding the yeast. Calculations show 25 litres in KG is 25kg, however, this felt A LOT more! My step-dad gave me a lift to carry it into my room, which was going to be my fermentation location, as it was a stable temperature, lots of room and less likely to be disturbed than other places. My room is around 16 degrees in the morning and night, then around 22 once the central heating is on when I'm home from work. So I used a heat belt to wrap around the fermentation bucket to add several degrees extra to keep it at a constant 20 degrees.
It took several hours, but the thermometer showed it rising from 14 to 20 degrees, so I finally added my yeast. Sealed 2 sides of the lid so that any carbon dioxide can escape and wouldn't explode in the night, no one likes a rude awakening. I placed an airlock at the top with some sterilised water. This allows the air to escape through the water and also prevent bacteria getting inside. Now it's simply a matter of waiting. I need to leave this to ferment for 5 days, then I'm going to add my additional hops to give it more flavour.
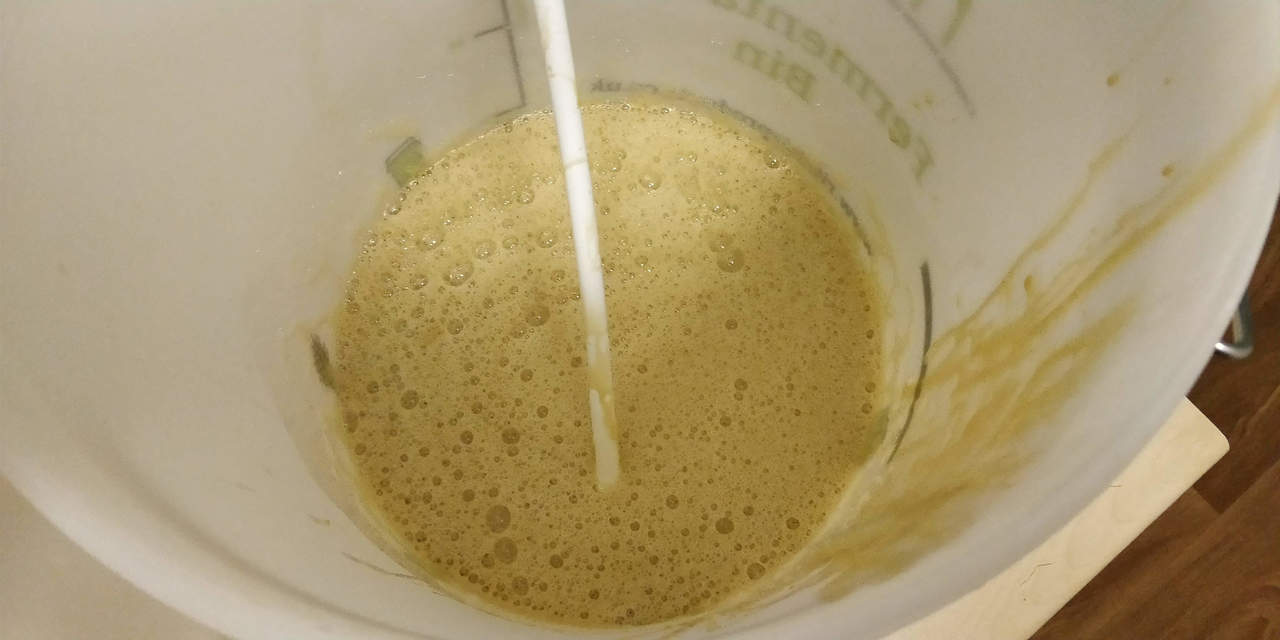
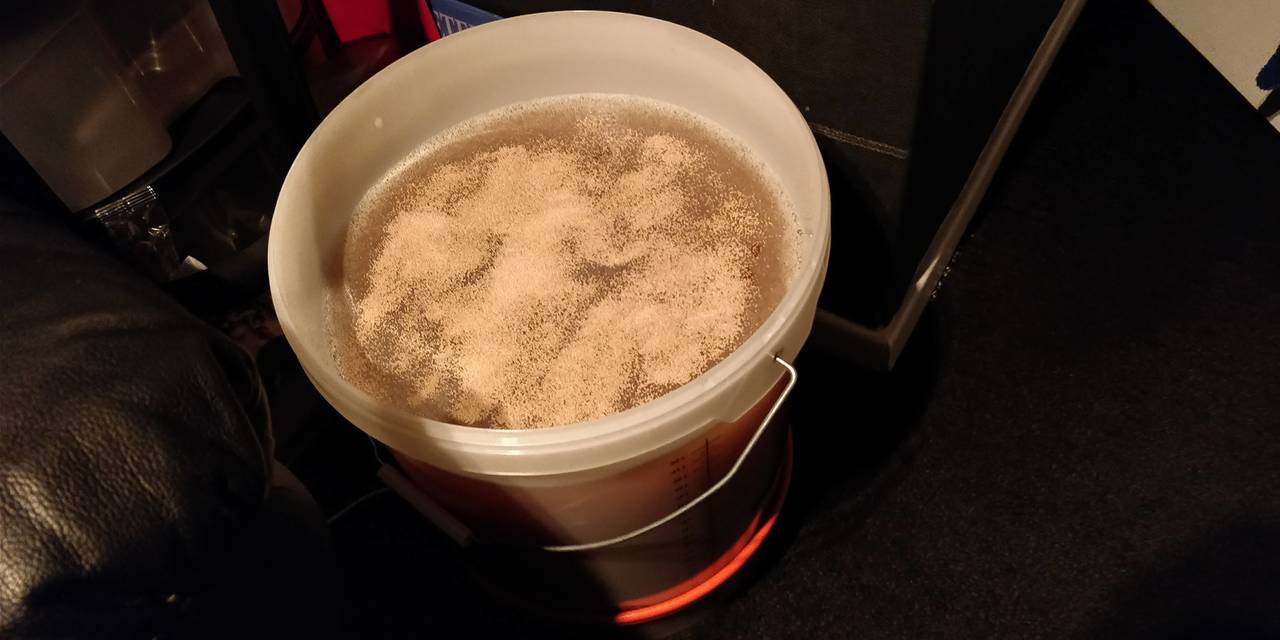
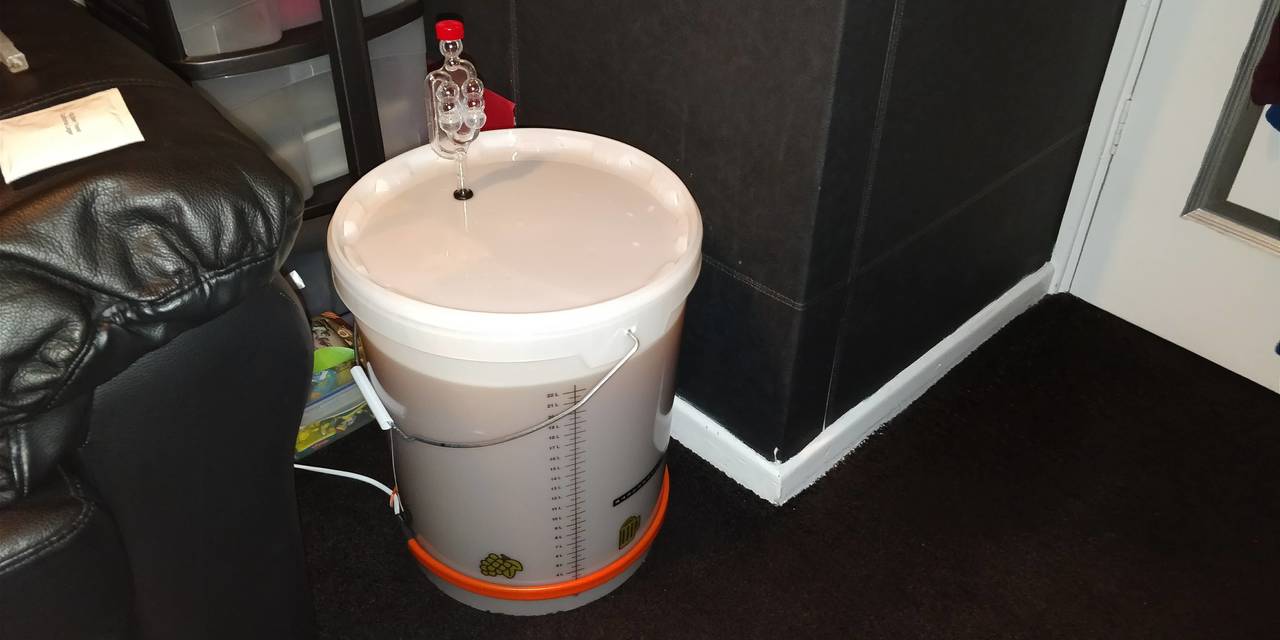
It's been 5 days and it's time to add the hops. This helps to add flavour and give the beer a sweet, fruity aroma. It's been quite the challenge keeping the temperature between 20-22 degrees. I turn on the heat belt when I sleep, so it's around 20 degrees, then I wake up and it's around 24. I turn off the heater, but the heat in my room from the central heating causes it to rise. I could purchase a 'Digital Temperature Controller' which I can plug a heat belt into the device and it allows the temperature to be a constant temperature. I've already spent a fair amount of equipment, so I wanted to experiment myself before looking into this. It seems pretty stable at the moment. Accidentally made a bit of a mess taking the lid off as there's a vast quantity of foam. Good news though as that means a successful, healthy fermentation. (Not so brilliant for the carpet though)
I added the hops, then completely sealed the lid on all sides. The fermentation bucket is now starting to furiously bubble, the airlock which contains my sterilised liquid is bubbling every 10 seconds exactly. The cat seems fascinated with the process. Hopefully, I don't find her sitting on top and contaminating the beer. Now I need to wait 5 more days until the fermentation is complete. I can then use my hydrometer to get a reading to see whether the process is complete, then it's ready for bottling.
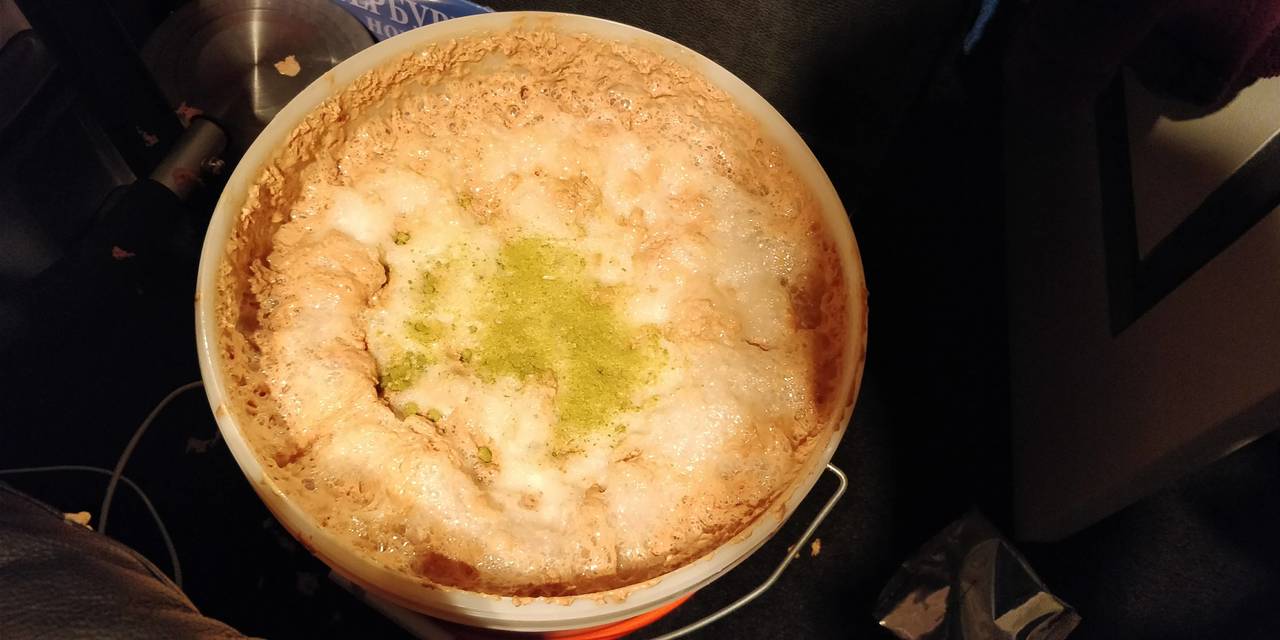
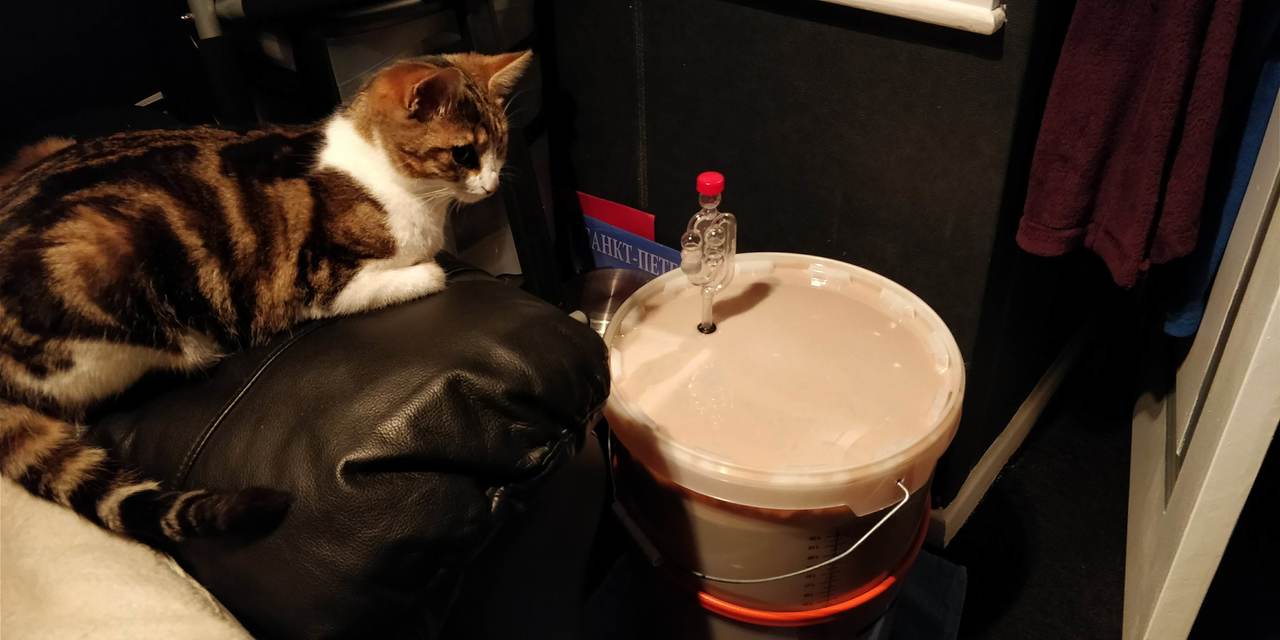
Time between bubbling
Sat - 10 seconds
Sun - 16 seconds
Mon - 34 seconds
Tue - 6 minutes
Wed - 20+ minutes
It's now been 11 days since beginning the fermentation. The airlock has stopped bubbling, so it took a gravity reading. The gravity came out at 1.008, which is the recommended amount according to the instructions, which means that it's time for bottling!
Formula for Calculating Alcohol in Beer
Subtract the Original Gravity from the Final Gravity
Multiply this number by 131.25
The resulting number is your alcohol percent, or ABV%
In shorthand: (FG - OG) x 131.25 = ABV %
My calculation was (1.050 - 1.008 = 0.042) x 131.25 = 5.25 ABV %
I started out by sterilising all my equipment. I wrapped my simple syphon in a small net provided by the kit. This helps filter any of the hops and sediment when transferring. Using my simple syphon, I began to slowly transfer the solution into a new fermentation bucket with a tap on the side. It was quite an awkward task to get used to. Anytime there was a kink in the tube, the flow would stop and I'd have to suck the syphon to restart the transfer. I ended up taking quite a few samples of the beer during the restarts...
The new bucket container much clearer, sweet smelling beer. Asking my Step-Dad Russ (Beer expect) he claimed it smelt lovely, like beer. With the beer filtered into my separate bucket, it was time add my priming sugar. This is what will be used to carbonate the beer whilst it's in the bottle to give it some fizz. I added my priming sugar and mixed thoroughly. then it was time for bottling.
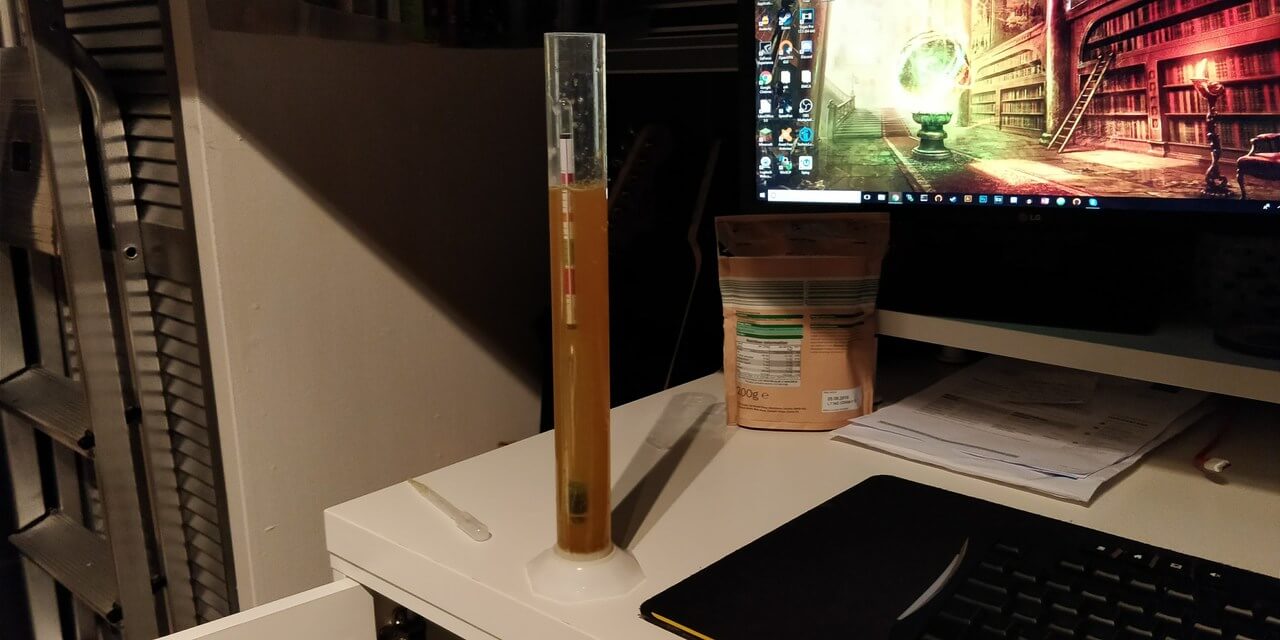
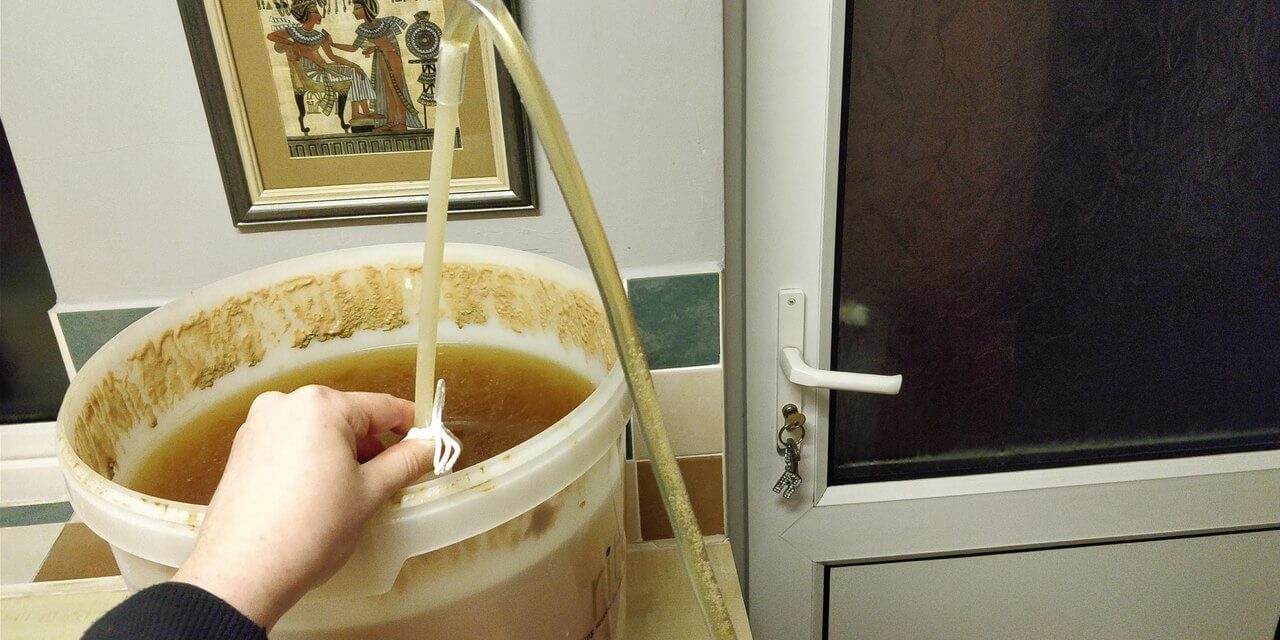
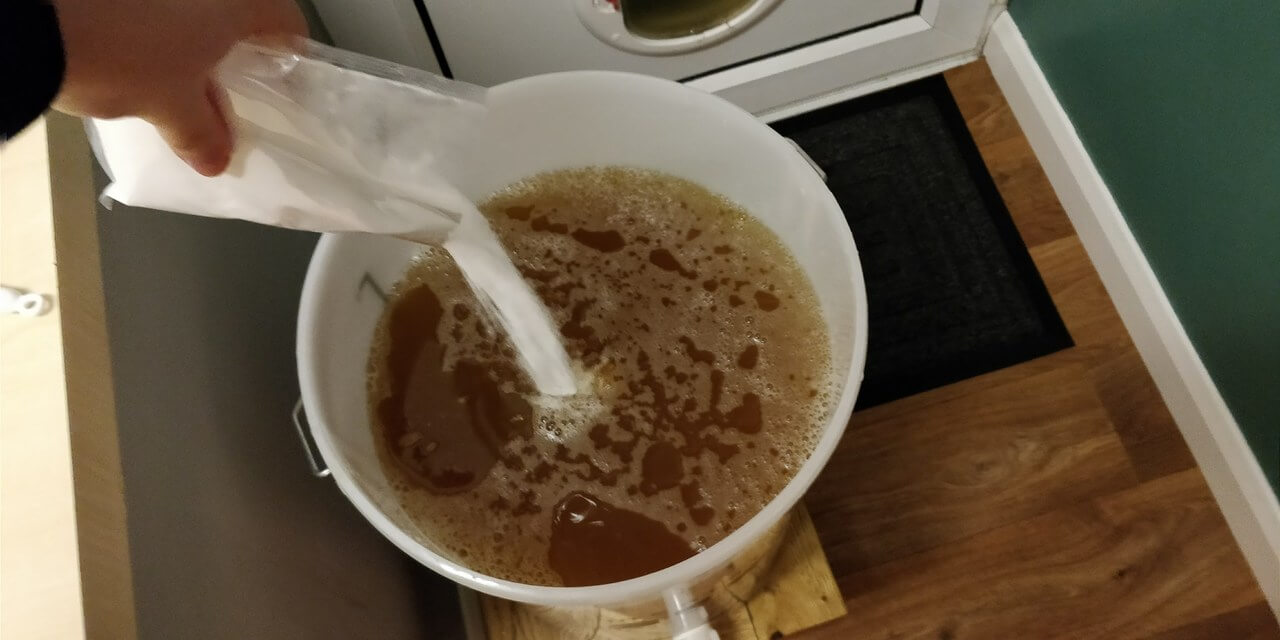
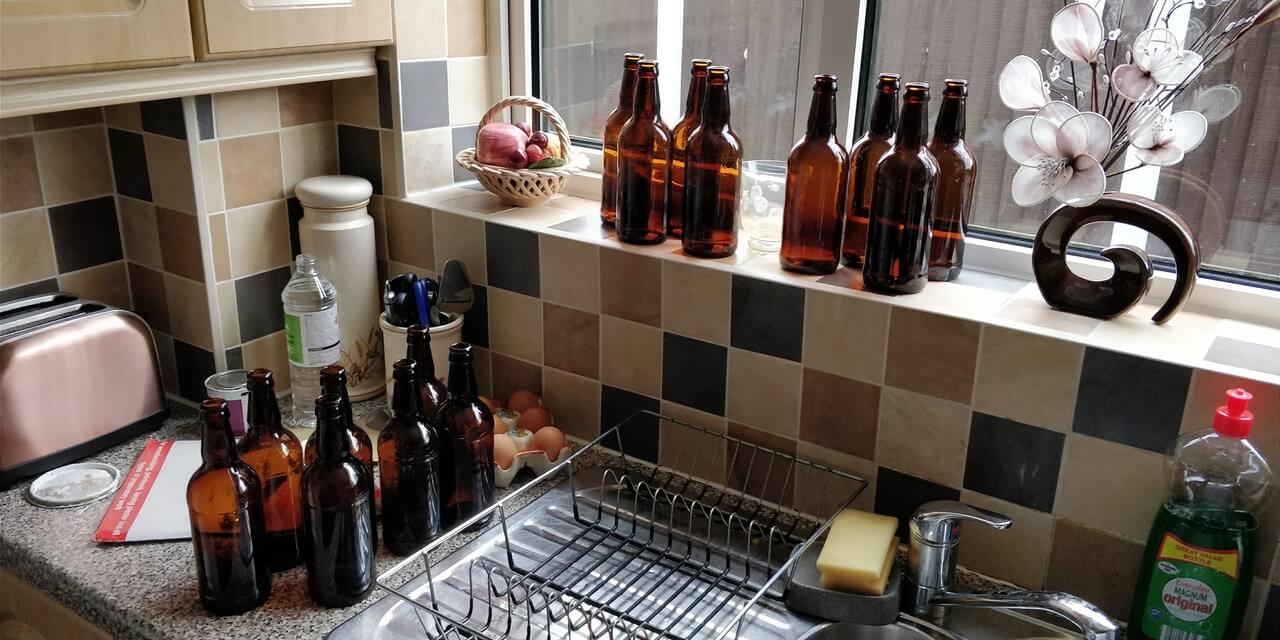
Unfortunately, having checked all my equipment, I found that I was missing my bottle caps. Apparently, the kit didn't come with any. Although the title stated "15 amber bottles 500ml - crown caps" which implied to me that the caps were included. Therefore, I had to leave the lid sealed and wait untill morning to get some caps.
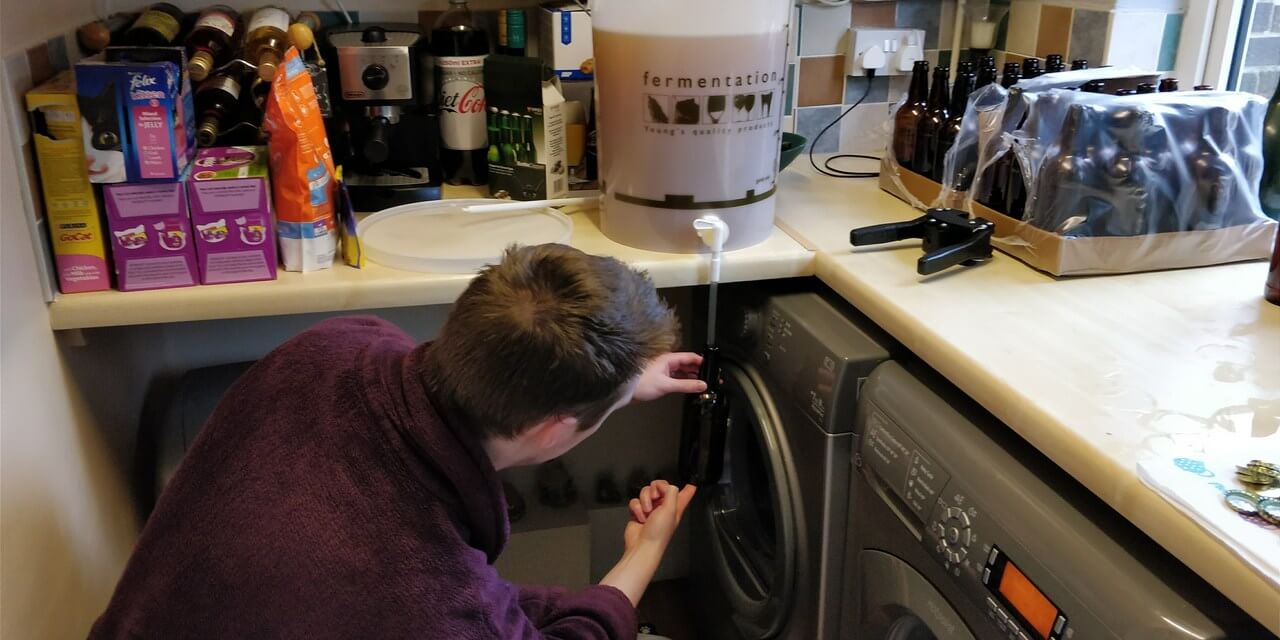
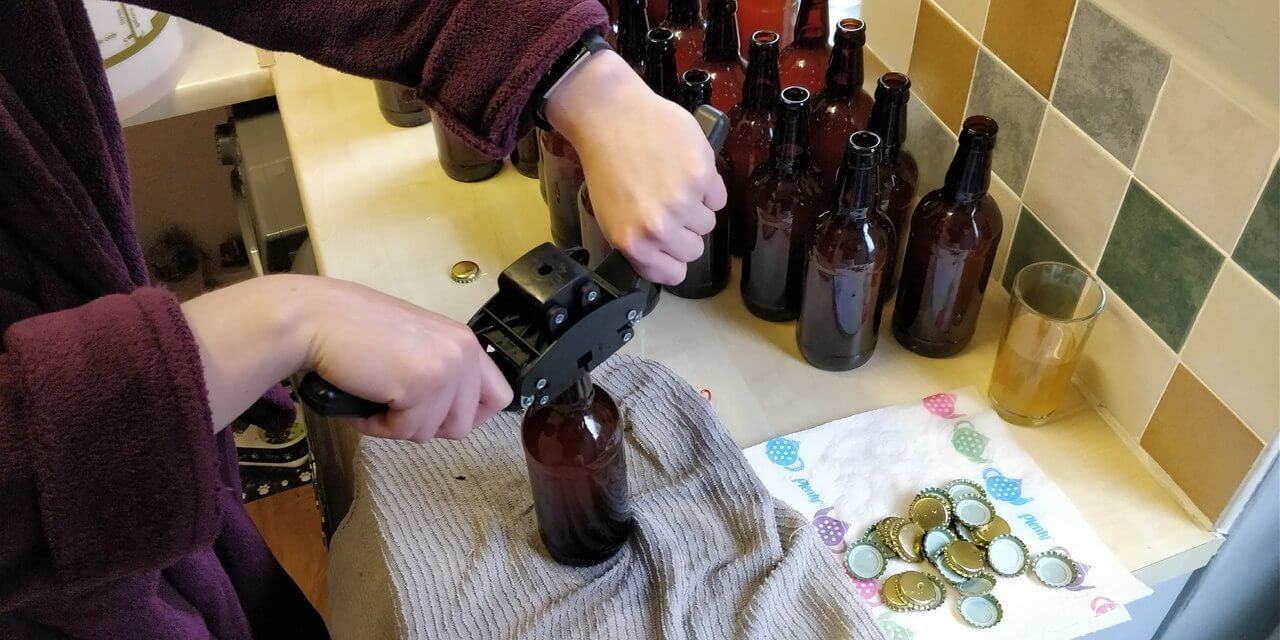
With my new crown caps at hand, I sterilised everything. Including all 40 beer bottles, caps, the capper, etc. We don't want to introduce any bad bacteria that may ruin the batch. Then it was finally time to bottle. I have this awesome little tap and filling tool in the front of the bucket. The device had a small button on the end. This releases the liquid when pressed. So you place the tube inside the beer bottle, press it against the bottom of the bottle, then the beer is slowly released inside of the bottle. You fill it to the top, then release. This creates a perfect 2-inch amount of space at the top of the bottle when the device is used for the air pocket, allowing room for the carbonation. Once everything was filled, I used the capper to seal off the bottles, using a damp towel to stabilise as I used pressed to seal the crown caps. Lovely photo of me in my dressing gown, as this was early morning.
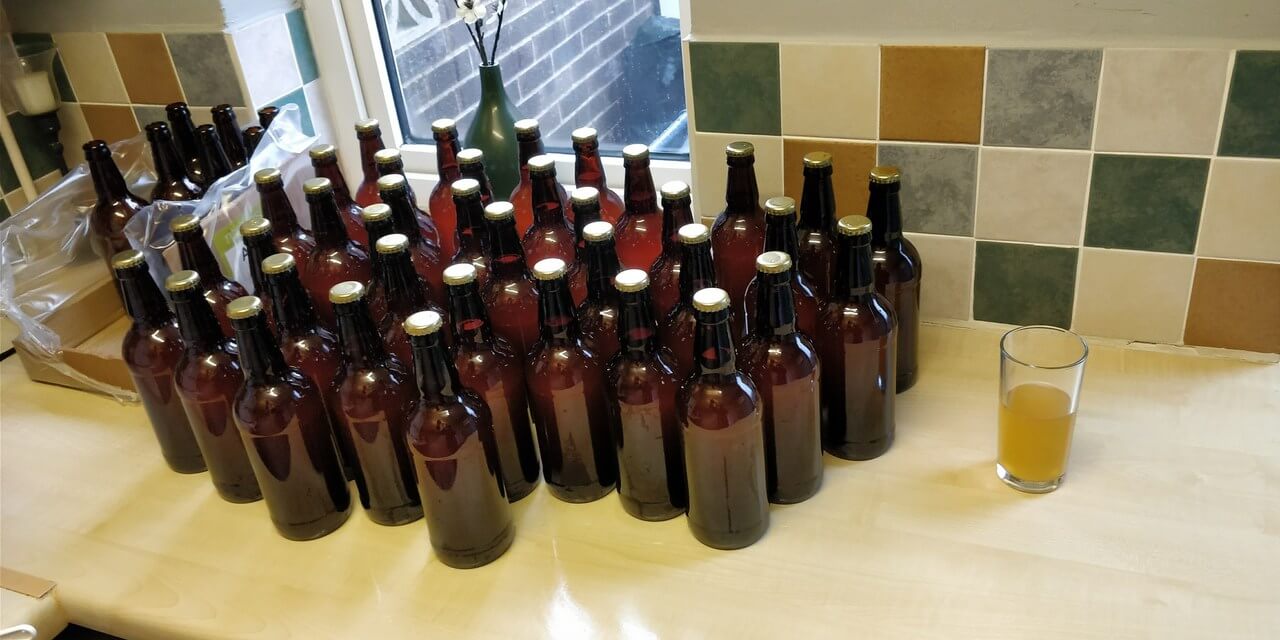
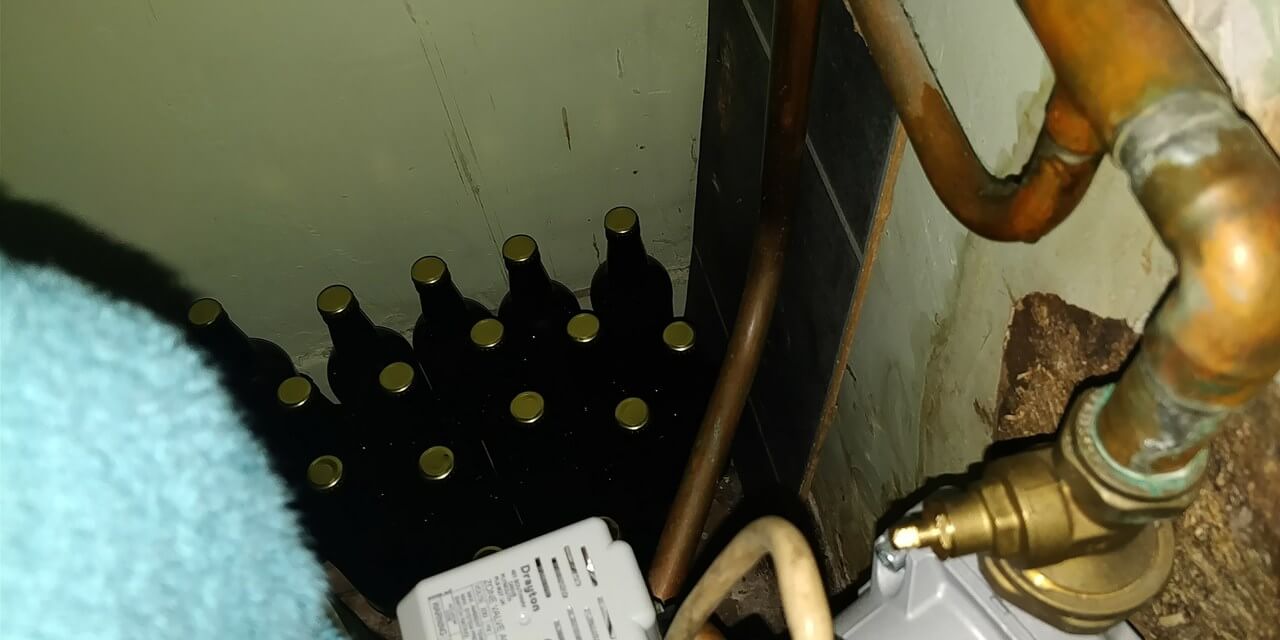
In total, I managed to get 38 bottles of beer! The kit gives approximately 40 pints, so this was almost perfect. More than enough for a good evening. Next, I needed to find a place around 20 degrees to allow the secondary fermentation to take place (carbonation). I wouldn't be able to use the heat belt on 38 bottles. Using my thermometer, I tested various rooms in my house. Luckily, my airing cupboard with the heating was exactly 20 degrees, and there was enough space for bottles, whereas there wasn't for a large bucket. I've placed all my beer bottles inside my warm airing cupboard. They will stay there for around 2 weeks until ready. After 2 weeks, I then place them in a cooler area, around 12-14 degrees. This will allow the beer to mature and eventually clear, then we're ready to drink! My Step-Dad and I sampled the beer to which he quoted "That's not bad, there's nothing wrong with that" which seems to be a good sign. These will develop further over time. I'm still not overly struck by it, as I'm a cider man. But if the beer expert says it's good, that's good enough for me!

In one of my previous projects 'Wine Labels', I explained that I was designing a wine label for my step-brother. He has been brewing his own wine for several months which included various flavours such as Blackberry, Plum, Strawberry, Merlot, Shiraz and several others. His plum wine was incredible. It inspired me to take up wine-making myself. My family drinks a fair amount of wine, including several friends, so I thought it would be a perfect creation. I'm personally more interested in the chemistry side of things, rather than the wine itself. But it's mutually beneficial for myself to be a scientist and for family and friends to enjoy the final result. Having watched several videos from the channel 'BrewBitz' I gathered all my equipment needed.
Equipment List
Wine Bottle Corks - 30 Pack
Wine Bottles Green 750ml (15) - Glass
Wine & Beer Hydrometer with Plastic Trial Jar
Liquid Crystal Stick-On Thermometer
PET Plastic Carboy Fermenter with Bored Bung & Airlock - 5 Gallons
Simple Syphon
Ritchies 25 Litre Fermentation Bucket + Drilled Lid & Grommet
Sodium Metabisulphite
Youngs Plastic Spoon Long
Young's 2 Handled Auto Wine Corker
Harris Filters Vinbrite Mk3 Filter
A California Connoisseur Cabernet Sauvignon 30 bottle
With all my equipment purchased, it was time to prepare. I filled my 5-gallon / 23-litre carboy with cold tap water, then left it in my warm room for 24 hours. This would allow the chlorine to dissipate to get the best-tasting wine. After 24 hours I got my kit out (Plus a bit of painting equipment too) There are a lot more ingredients here than the beer kit. This would involve a lot more processing and refining.
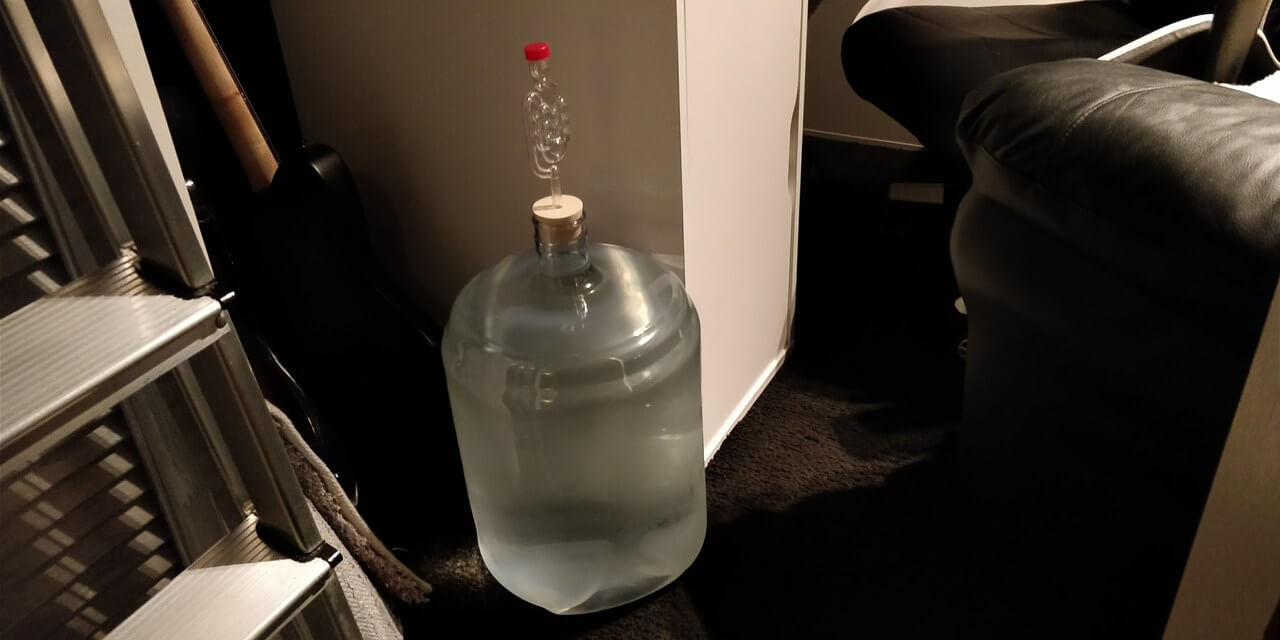
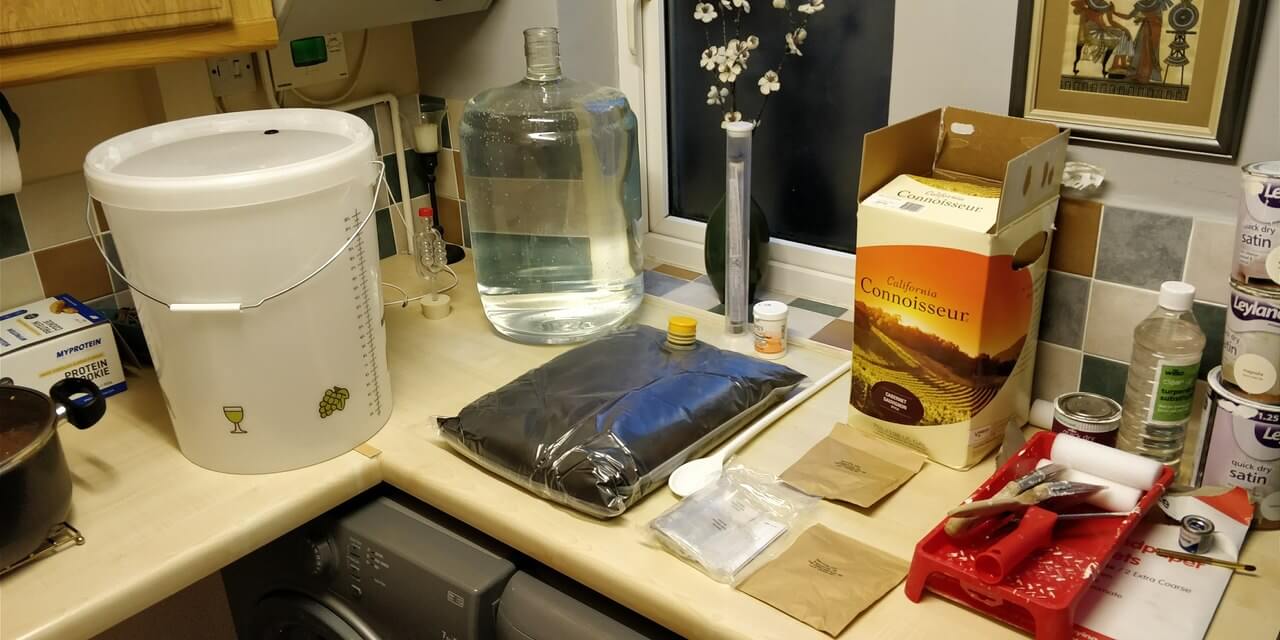
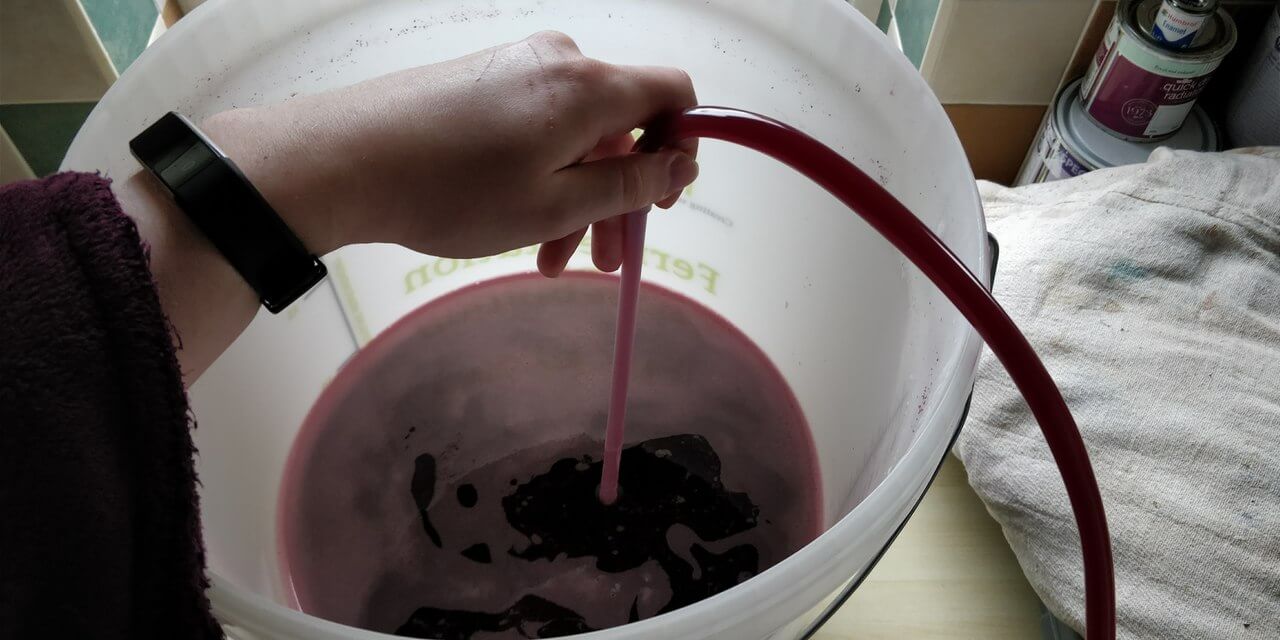
After thoroughly sterilising my equipment, I had to open the concentrated grape juice, which was easier said than done. I used a blunt knife which was pressed into the yellow seal, then twist to pry it open. I began by pouring the grape juice into the bucket, slowly as I didn't want to splash wine everywhere and stain everything. I then added 3 litres of the water from the carboy into the plastic bag, swirled it around to empty all the contents, making sure we don't waste any grape juice.
Next, I added my sachet of bentonite, this helps the yeast and aids in clearing the wine later on. I then added my sachet of oak chips. This helps add some lovely flavours to the wine. After a good stir, I top-up the fermentation bucket to 23 litres using the water from the carboy. Once thoroughly mixed, I take a sample using my hydrometer to take a gravity reading. At the moment, it comes out at 1.086 specific gravity which I've noted using the instructions.
Once the reading has been noted, I then add my yeast by sprinkling it on the top, making sure not to stir. Then I seal my lid, not too tightly. This will now go in my warm room where I keep it between 20-25 degrees. Same as I did with my beer brewing. In will leave this to ferment for the next 7 days, then I can continue with the next steps.
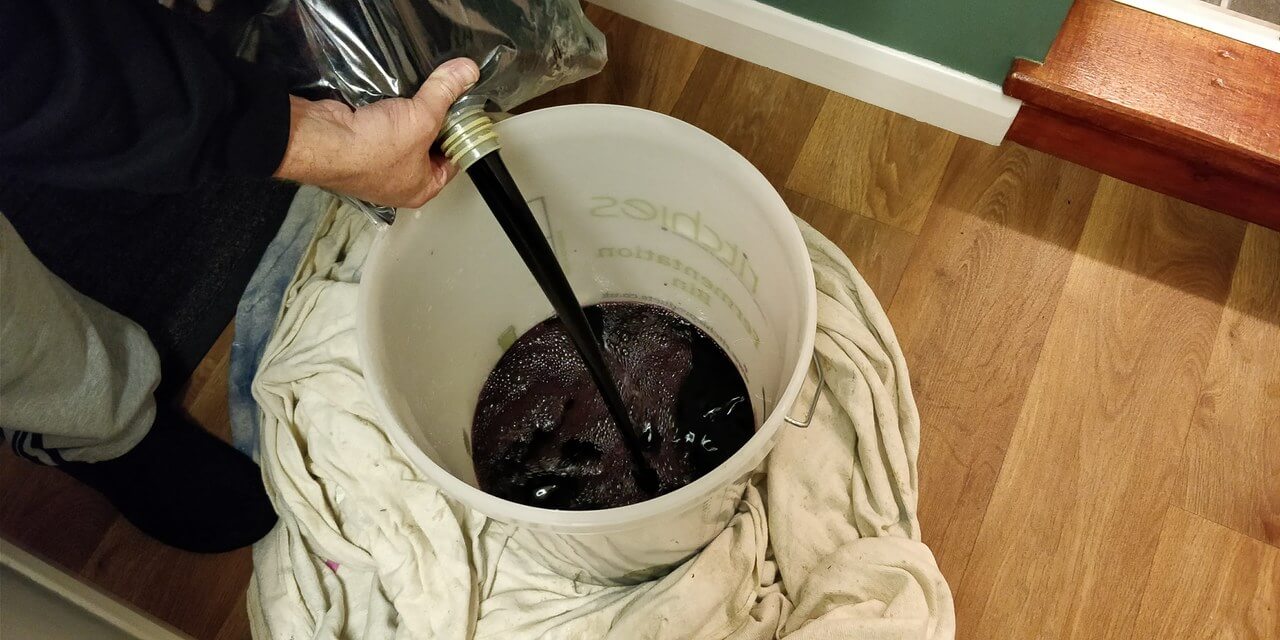
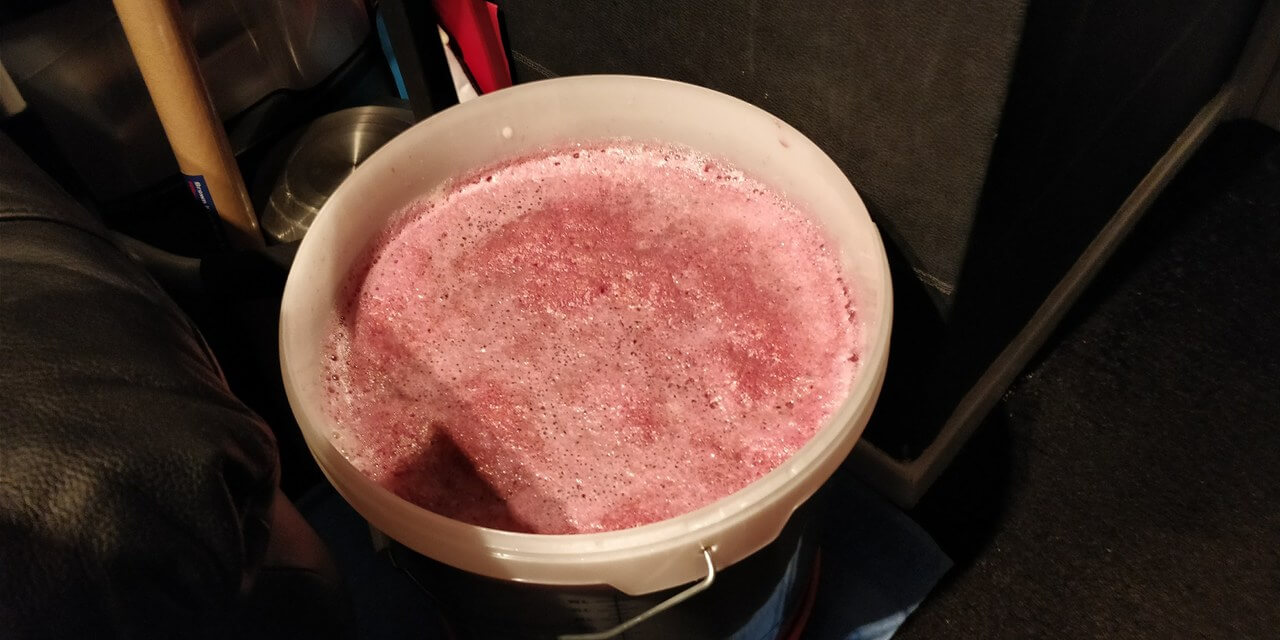
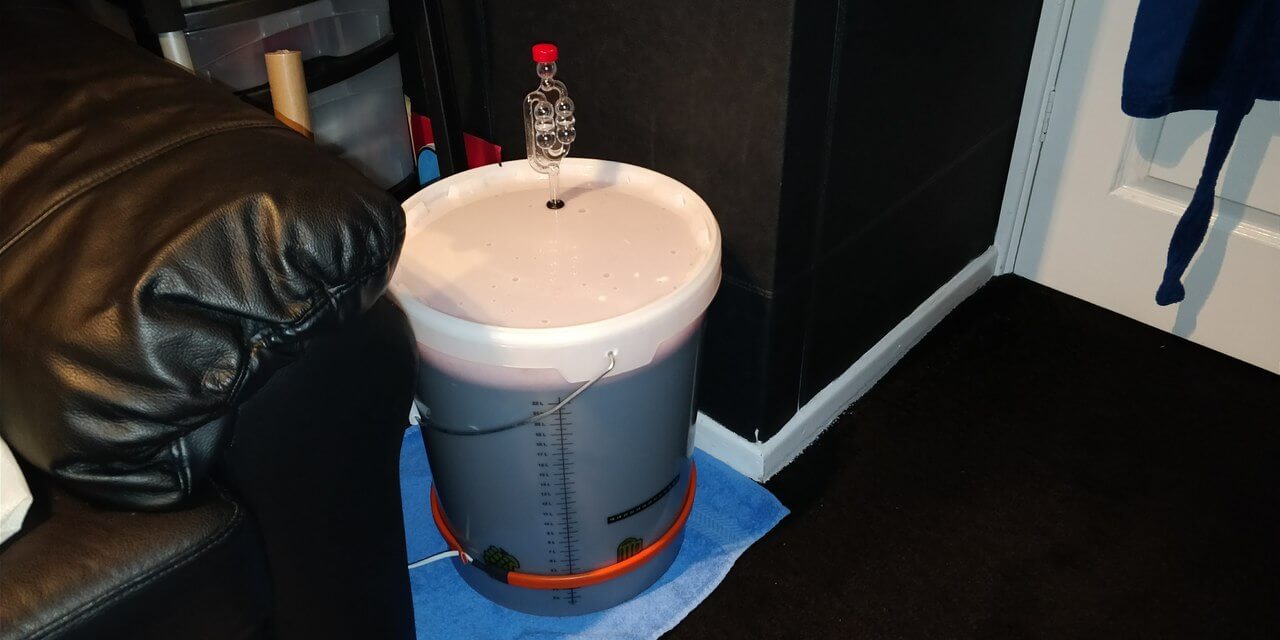
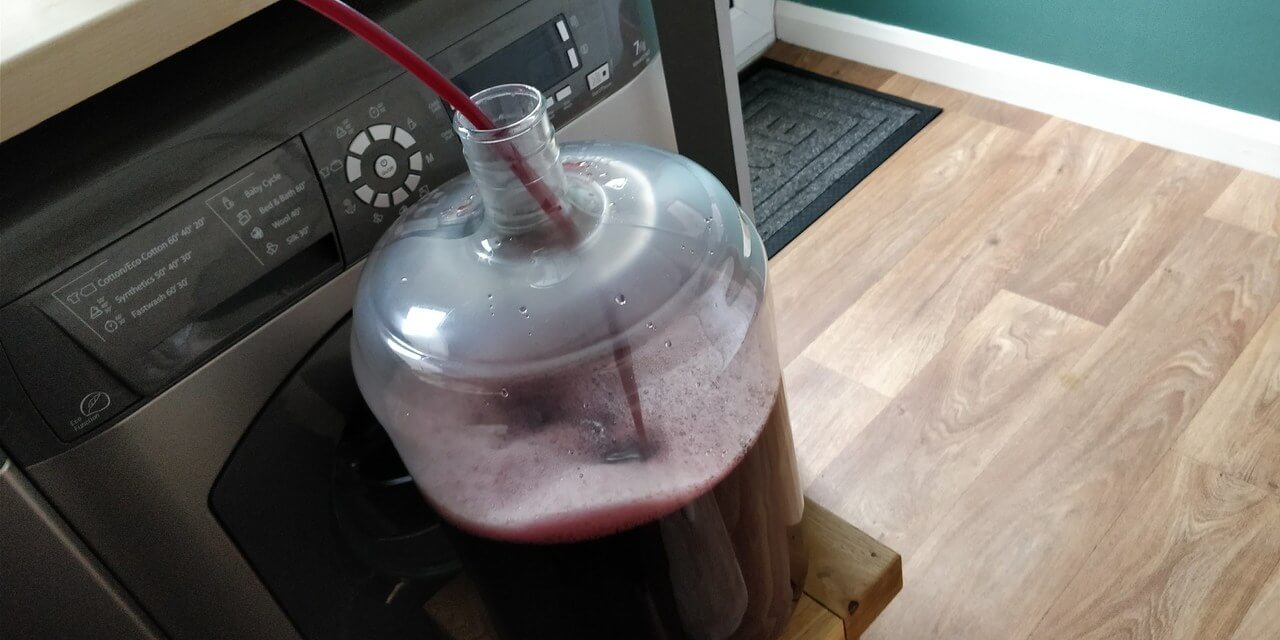
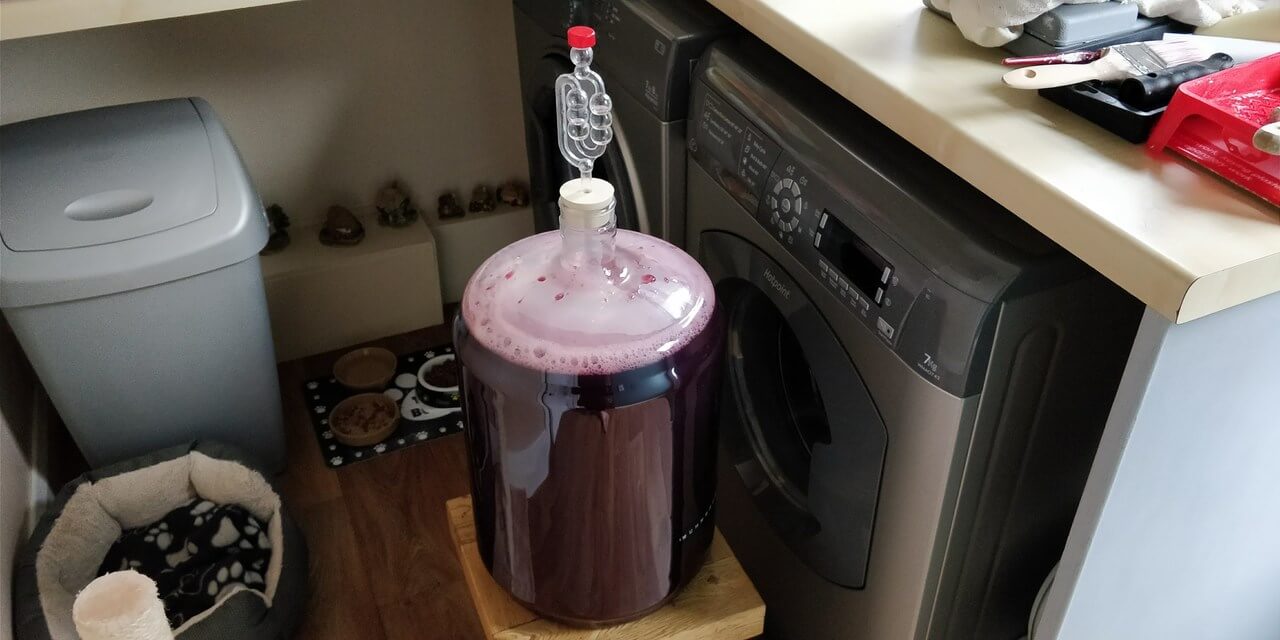
It's been 7 days, so I've taken a reading from my hydrometer. It came out 1.000 gravity, so we're ready to proceed with the next steps. I've got my carboy ready, all equipment sterilised, so it's time to transfer from the fermentation bucket to the carboy. Using my simple siphon I slowly began to transfer the wine. We have to make sure not to do too deep or else sediment will be transferred too, which is currently accumulated at the bottom, we don't want to disturb it. Listening to some music, it takes around 10 minutes to transfer 23 litres to the carboy. The lid has been sealed with an airlock. Now I need to leave this in my warm bedroom again, around 20-25 degrees for the fermentation to continue. I'll check back in 12 days.
